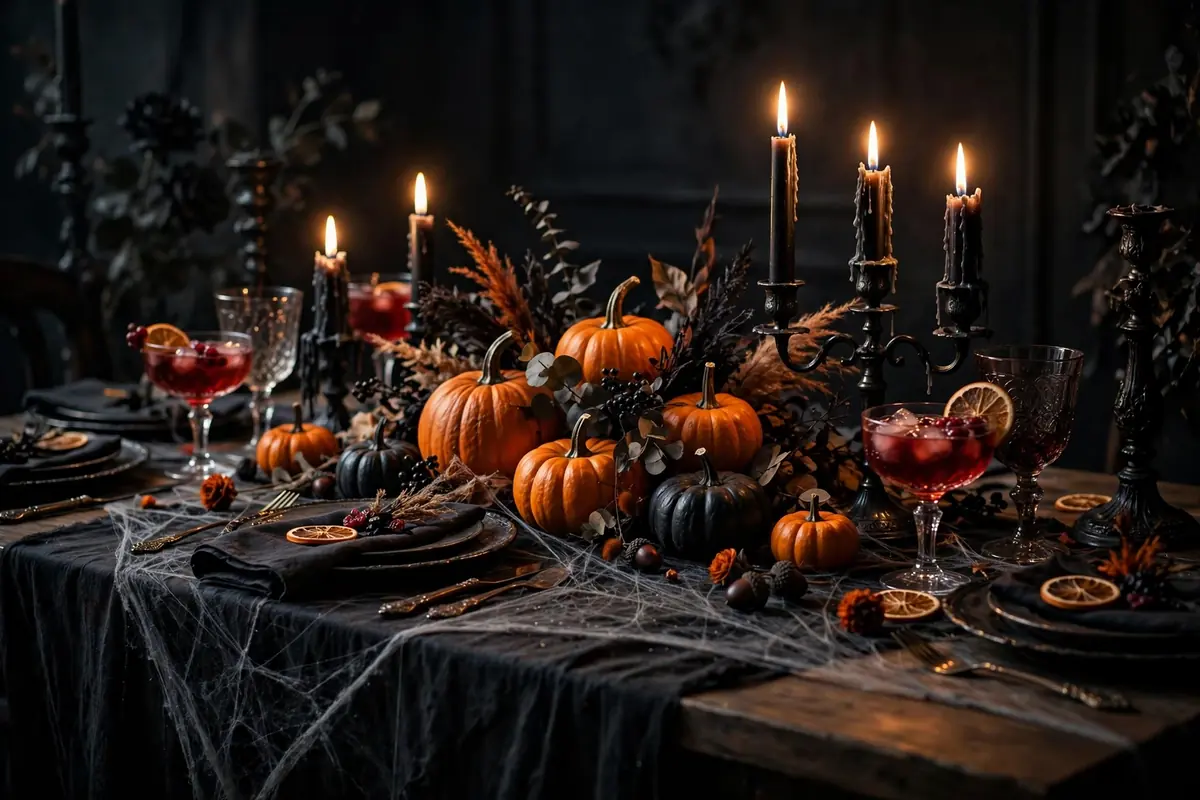
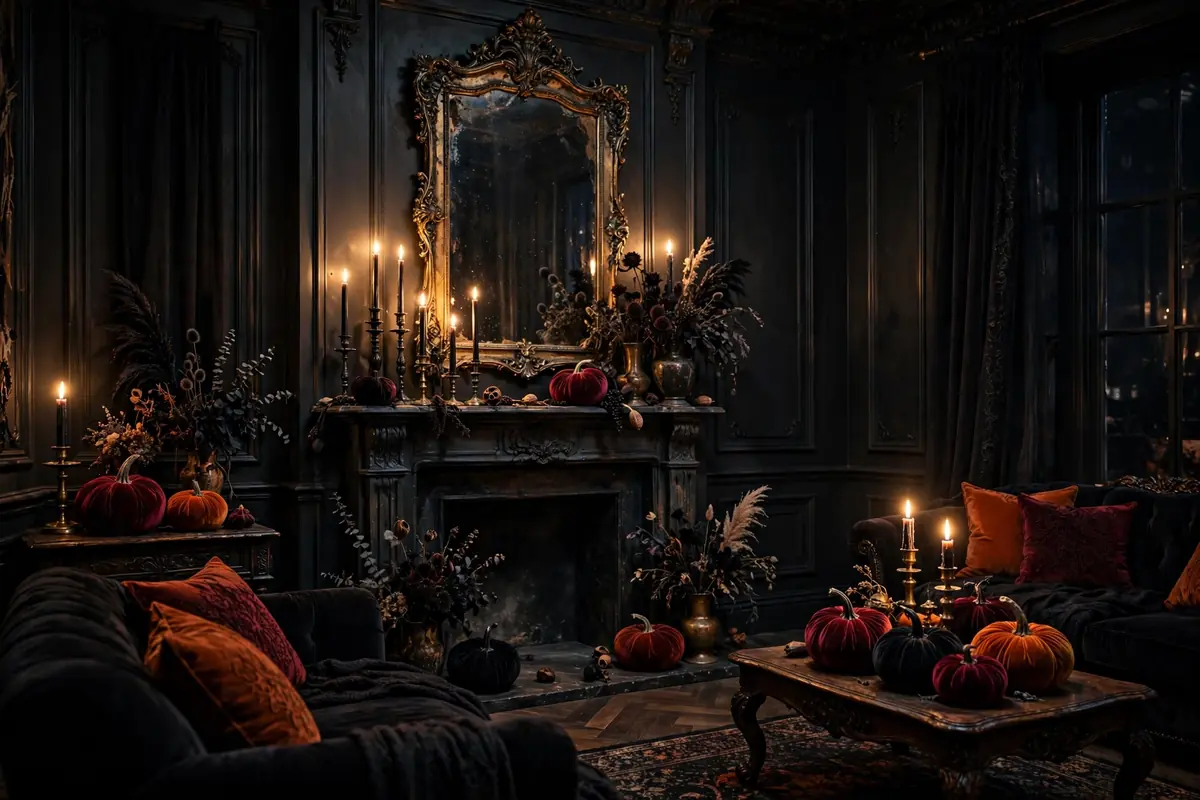
Here's the thing nobody tells you about Halloween decor: the store-bought stuff is wildly overpriced, and half of it looks cheap anyway. The best-looking haunted houses I've seen were built from jars, paper, and thrift-store finds. These fourteen projects cost almost nothing, take an afternoon at most, and your guests will genuinely ask where you bought them.
Quick answer: The best DIY Halloween decor costs almost nothing and looks store-bought. These 14 projects use jars, paper, and thrift finds and take an afternoon at most.
See how the finished pieces fit a full room in our living room decor trends — the same velvet-and-candlelight look, built by hand.
1. Apothecary Potion Bottles from Old Jars
Don't recycle those interesting glass jars yet. Peel off the labels, fill them with water plus a single drop of food coloring, and stick on printed vintage labels reading "Wolfsbane" or "Bat Wing Tonic." Group five or six together on a shelf with a couple of LED tea lights behind them. One jar looks like trash. Six jars look like a witch's laboratory. Total cost: basically zero.
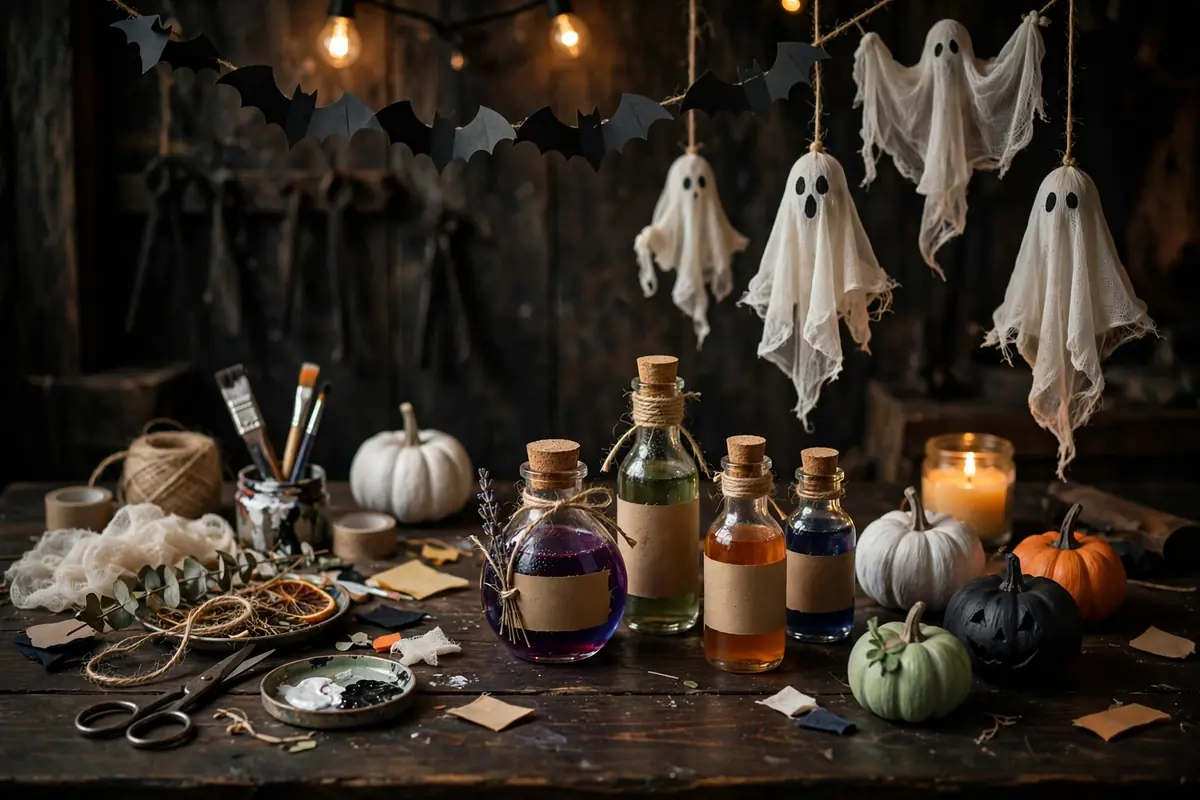
You'll need:
- Old jars
- Labels
- Corks
- Fillers
How to: Clean old jars and fill them with colored water, herbs, or glitter. Add handwritten labels. Group them on a shelf.
2. Cheesecloth Ghosts
Drape white cheesecloth over an inflated balloon sitting on a jar, then mist it with liquid starch until it goes stiff. Pop the balloon once dry and hang your ghost from the ceiling with fishing line. Make them in different sizes for a whole haunted family. They catch the light beautifully and drift just enough in a draft to feel alive. Honestly the creepiest thing on this list for about three dollars.
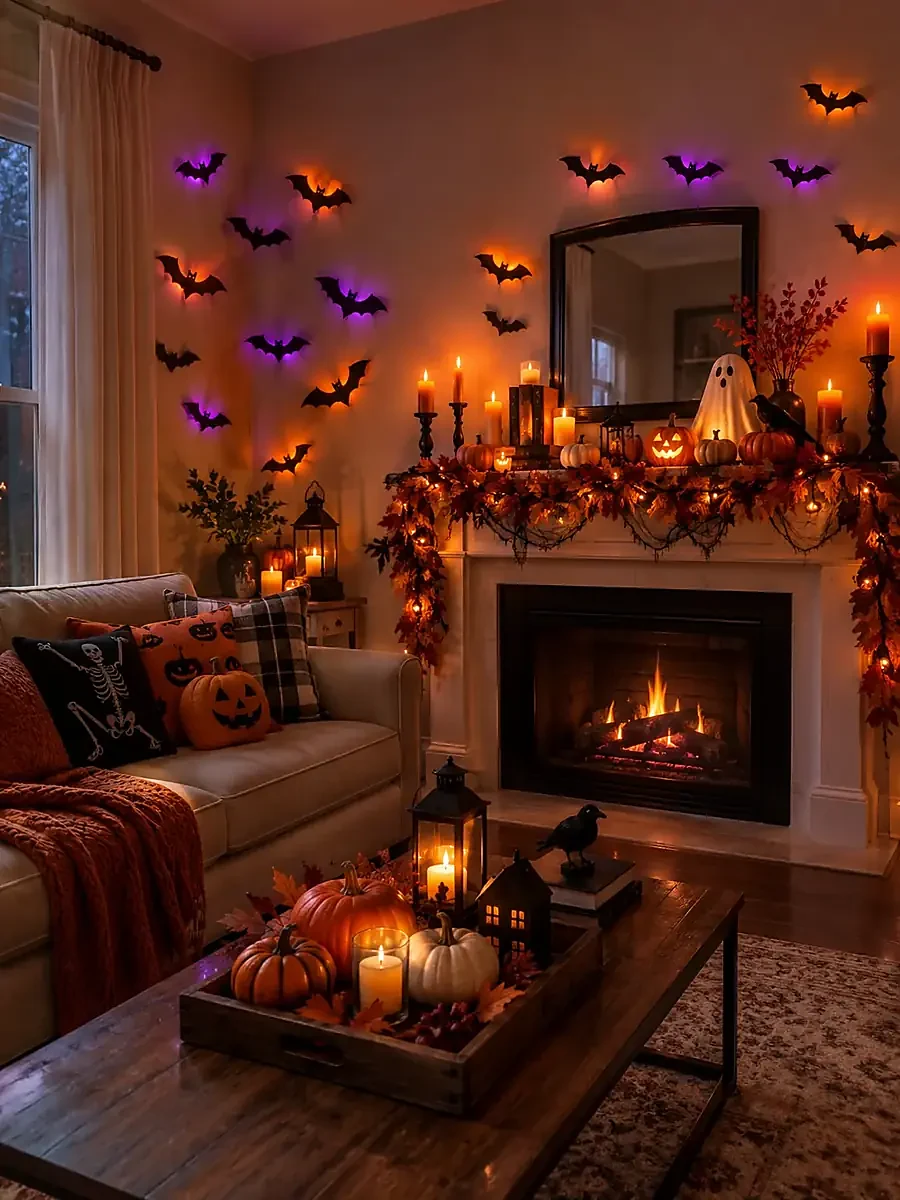
You'll need:
- Cheesecloth
- Balloons
- Glue
- String
How to: Drape cheesecloth over inflated balloons and stiffen with glue. Pop the balloons once dry. Hang the ghosts with string.
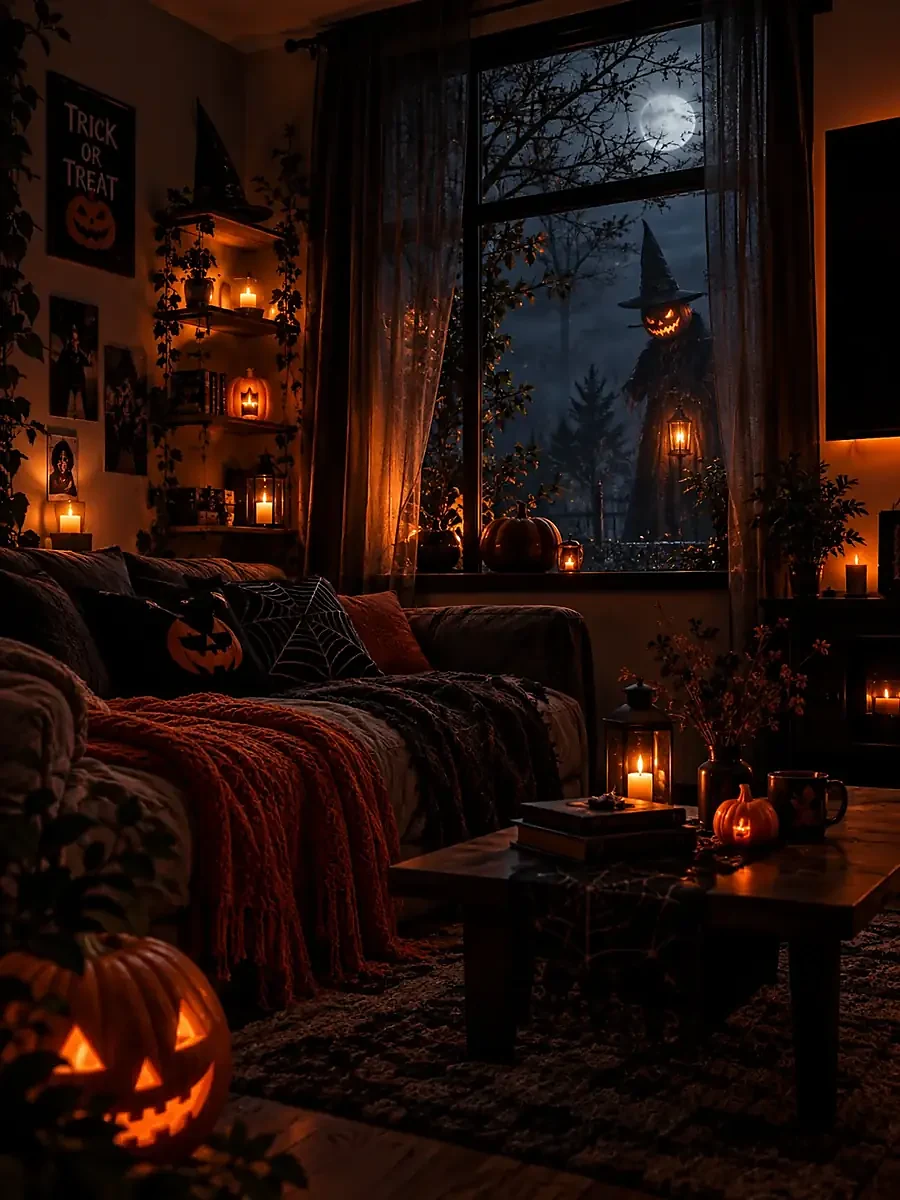
3. Paper Bat Wall Garland
Cut bat shapes from black cardstock, folding the paper so each cut gives you two wings, then string them on thread. Drape the garland across a mantel, staircase, or doorway. Add more bats than you think you need. A dozen looks intentional, four looks sad. This is the cheapest dramatic wall decor that exists. An afternoon, a pair of scissors, done.
You'll need:
- Black paper
- Bat template
- Scissors
- String
How to: Cut bat shapes from black paper using a template. String them together into a garland. Hang it along a wall or mantel.
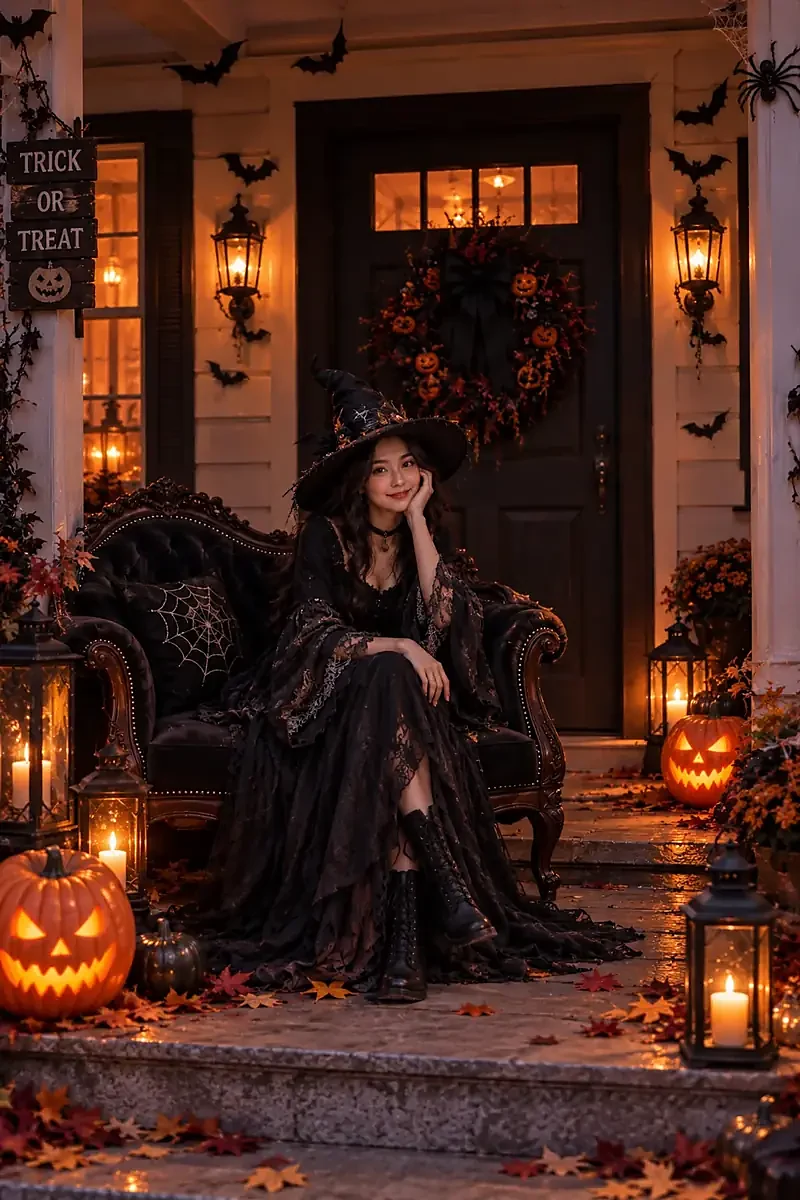
4. Painted Mini Pumpkins
Skip carving and grab the mini pumpkins from the grocery store. Paint them matte black, cream, or dusty purple with cheap acrylics, and add metallic gold stems to make them look expensive. Cluster them in odd numbers on your entryway table or down the center of the dining table. They last weeks, never rot, and kids can help without anyone losing a finger.
You'll need:
- Mini pumpkins
- Acrylic paint
- Brushes
- Sealer
How to: Paint mini pumpkins in any colors you like. Let them dry, then seal. Group them on a table or mantel.
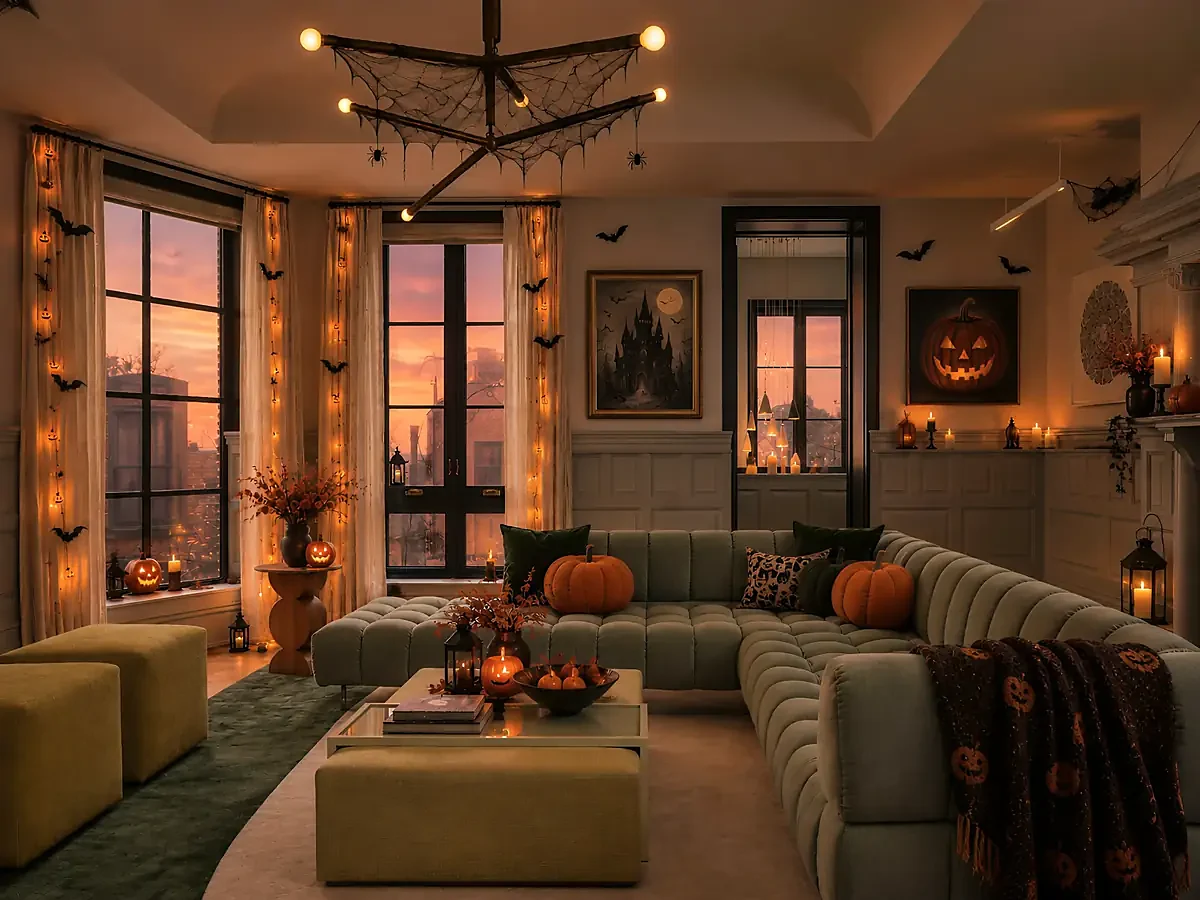
5. Floating Witch Hats with Lights
Thread clear fishing line through the tip of a few cheap witch hats and hang them at different heights from the ceiling. Tuck a battery fairy light inside each one so they glow softly. From below they look like they are hovering mid-flight. Hang them over the dining table or in a hallway and every guest will ask how you did it.
You'll need:
- Witch hats
- Fishing line
- LED lights
- Hooks
How to: Hang witch hats from the ceiling with fishing line. Tuck LED lights inside. The hats appear to float in the dark.
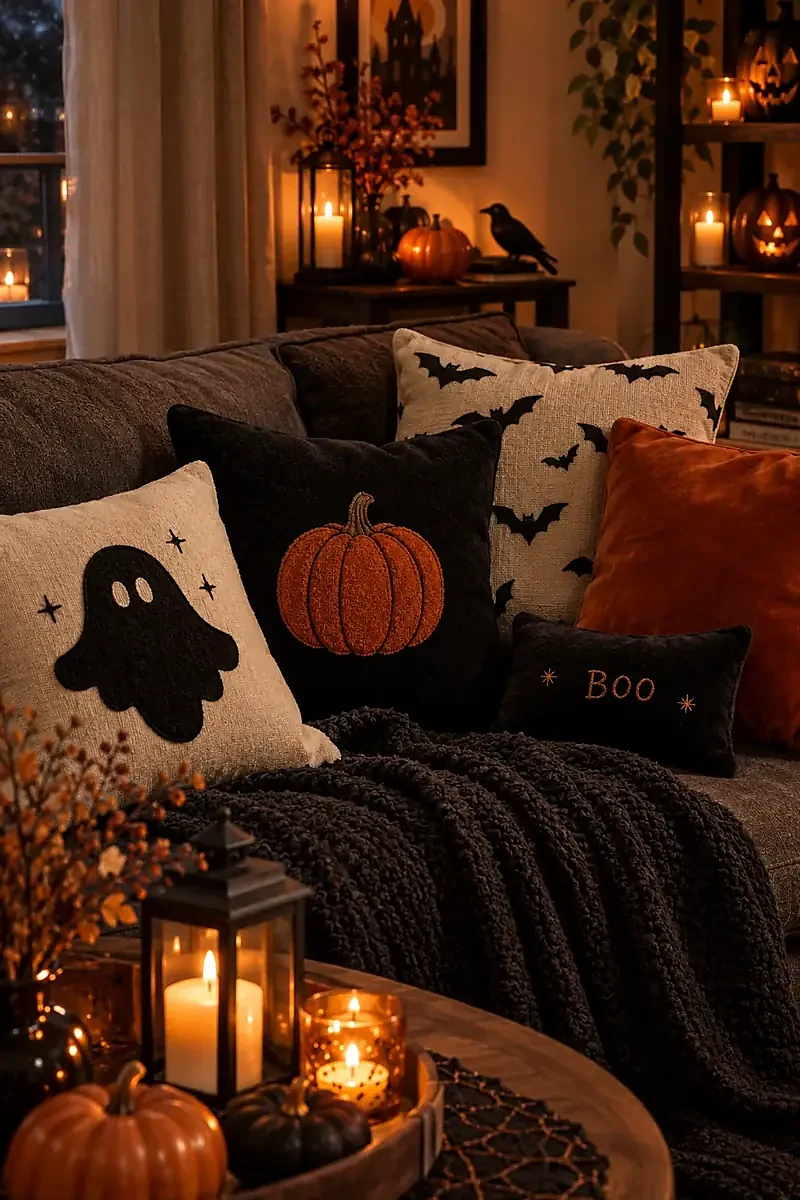
6. Book Page Ghosts
Sacrifice one damaged paperback. Thrift stores are full of them for a dollar. Cut ghost shapes from the pages, draw simple faces, and hang them from branches in a vase or string them as a garland. The printed text showing through the paper gives them a literary haunted-library feel that store decorations never have.
You'll need:
- Old book pages
- Scissors
- Glue
- Marker
How to: Cut ghost shapes from old book pages. Draw simple faces. Hang them or stand them on shelves.
7. Tin Can Luminaries
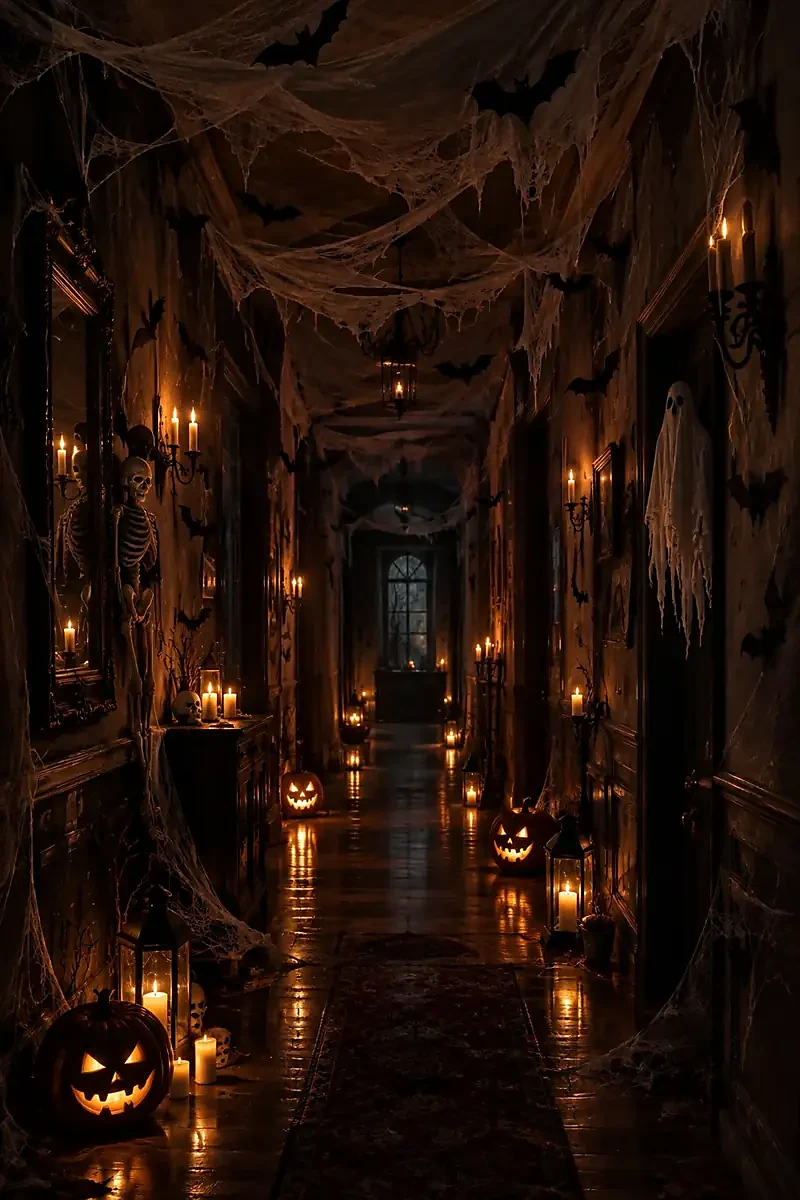
Punch holes in clean tin cans with a hammer and nail. Stars, moons, random dots, whatever feels right. Drop in a battery tea light and set them along your walkway or windowsills. The punched patterns throw the prettiest shadows on nearby walls. Free if you eat canned soup. Sand the rims first so nobody gets cut.
You'll need:
- Tin cans
- Nail
- Hammer
- Candles
How to: Punch patterns into tin cans with a nail and hammer. Place a candle inside. The light shines through the holes.
8. Spooky Terrarium
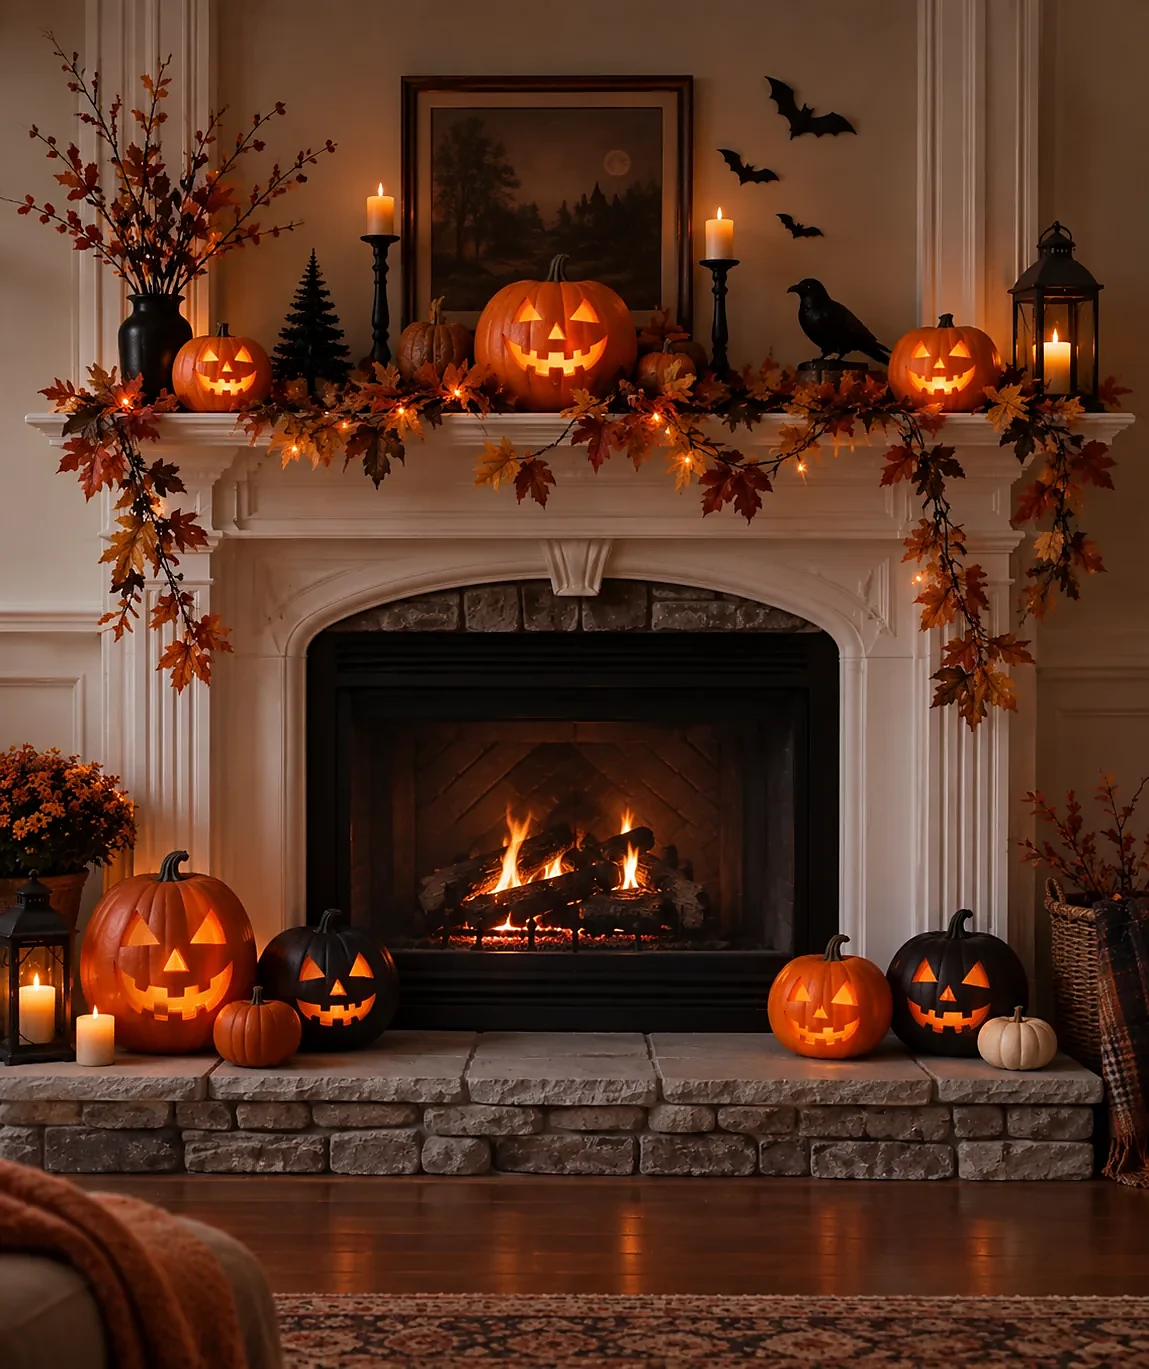
Fill a glass jar or old fishbowl with moss, a plastic skull or tiny tombstone, and a few twisted twigs. Add a string of fairy lights and you've got a haunted little world on your shelf. These make great gifts too. Everyone wants one once they see yours. Change the scene each year and it never gets old.
You'll need:
- Glass container
- Soil
- Small plants
- Mini figures
How to: Layer soil and small plants in a glass container. Add mini figures — skeletons, pumpkins, ghosts. Keep it on a table.
9. Mummy Mason Jars
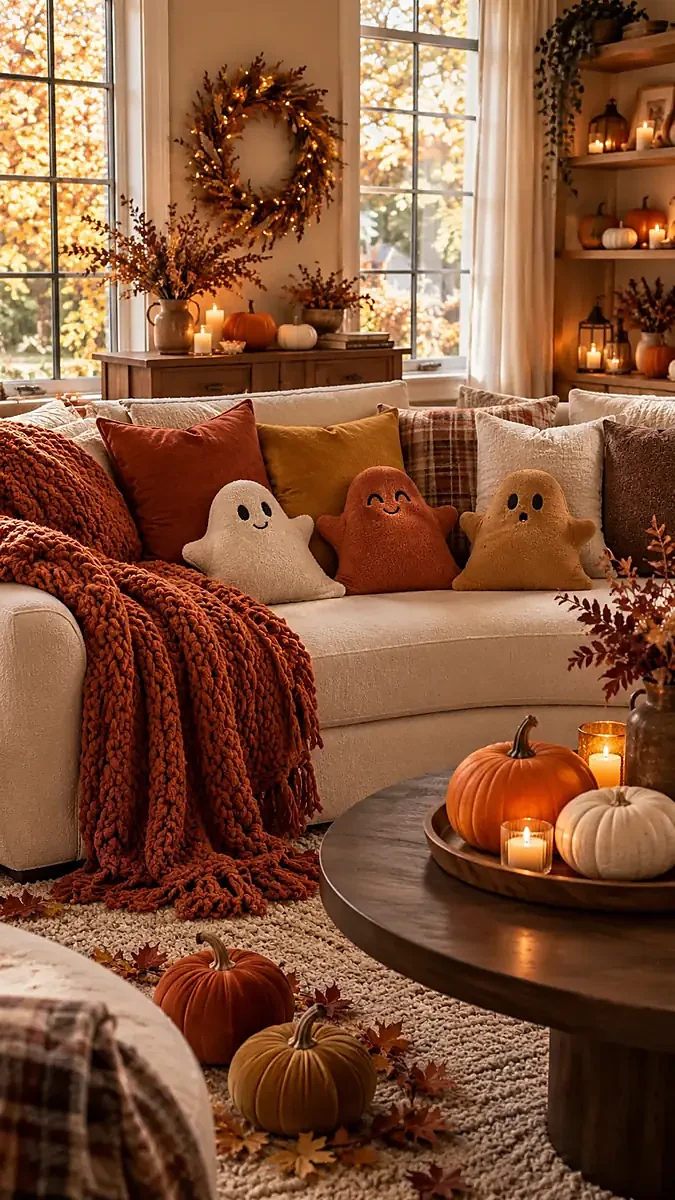
Wrap mason jars in strips of white gauze or torn fabric, leaving a gap for two googly eyes. Pop a tea light inside. Line three or four down your mantel and you've got the cutest mummy family guarding your living room. Kids go absolutely wild for these, and they take maybe ten minutes each.
You'll need:
- Mason jars
- Gauze
- Glue
- Googly eyes
How to: Wrap mason jars in gauze and glue in place. Add googly eyes. Place a tea light inside for a glowing mummy.
10. Haunted Picture Frames
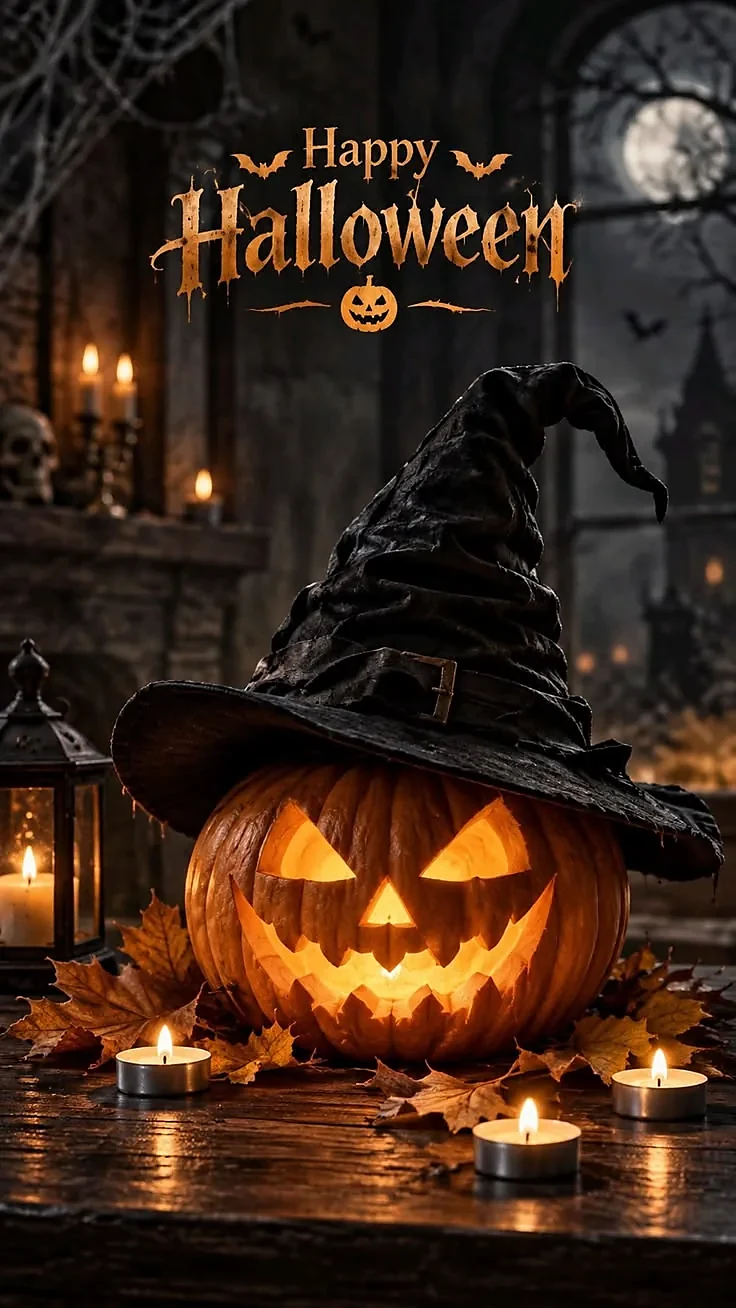
Print spooky vintage-style portraits and slip them into thrift-store frames. Lean them on your mantel or hang a whole gallery wall. The aged frames do most of the work. For extra credit, hang one slightly crooked. Guests will stare at that one all night trying to figure out if it moved.
You'll need:
- Frames
- Printed portraits
- Paint
- Hooks
How to: Print spooky portraits and frame them. Distress the frames with paint. Hang them in a cluster.
11. Yarn Spiderwebs
Stretch black yarn between the corners of a doorway or across a window in a web pattern, securing it with tape or tiny nails. Add a big plastic spider and you are done. It takes fifteen minutes and looks genuinely architectural. Way better than the bagged fake webs that shed everywhere and stick to your hands for days.
You'll need:
- Yarn
- Tape
- Scissors
- Plastic spiders
How to: Stretch yarn across a corner to form a web. Secure with tape. Add plastic spiders. Keep the web loose and organic.
12. Candle Wax Drip Bottles
Let candles burn down inside empty wine bottles so the wax drips down the sides naturally. Cluster the bottles on your dining table for instant gothic candelabra vibes. Use black, burgundy, or deep purple candles for maximum drama. Just keep them away from curtains and curious cats.

You'll need:
- Bottles
- Candles
- Matches
- Tray
How to: Drip candle wax down the sides of bottles. Let it layer and harden. The drips look like old haunted bottles.
13. Cardboard Tombstones
Cut tombstone shapes from cardboard boxes, spray them gray, and write funny epitaphs with a marker. "I Told You I Was Sick" is a classic. Stake them in the front yard with wooden skewers. They will not survive rain, so bring them in at night or seal them with clear spray. The neighbors will slow down to read every single one.
You'll need:
- Cardboard
- Grey paint
- Markers
- Stakes
How to: Cut tombstone shapes from cardboard and paint grey. Write epitaphs. Stake them in the yard or lean them against a wall.
14. Fabric Pumpkin Patch
Cut circles from orange fabric scraps, gather them with a needle and thread, stuff with filling, and tie off with a cinnamon stick stem. No sewing machine needed. Make a whole patch in an evening while watching a horror movie. They look soft and handmade in the best way, and they never rot.
You'll need:
- Scrap fabric
- Stuffing
- Thread
- Twine
How to: Sew fabric into pumpkin shapes and stuff them. Tie twine around the top. Group them into a patch.
Pick two or three of these and your house is Halloween-ready by the weekend. The best part? When someone asks where you bought everything, you get to say you made it. That never gets old.
Taking it outside? Our front-yard ideas scale the same tricks up, and party themes show how to style them for guests.