Your costume ends at your fingertips, literally. Halloween nails are the detail people notice in every photo, and they're having a real moment right now. Whether you want one spooky accent nail or a full set of tiny haunted scenes, here are the designs worth booking — or attempting at home — this season.
Quick answer: Start with one accent nail if you are new to Halloween nails — a spiderweb or gold moon on your ring finger is the easiest win. This post has 18 designs from subtle to full witch, each with supplies and steps.
If you are building a full look, pair your nails with one of our women's Halloween costumes — the right manicure makes any costume feel finished.
1. Classic Black with Gold Moon
Jet black polish, one gold crescent moon on each ring finger. The little black dress of Halloween nails — it goes with everything and never looks try-hard. Use a nail sticker for the moon if your freehand is not steady.
You'll need:
- Black nail polish
- Gold nail stickers or foil
- Top coat
- Nail file
How to: Paint two coats of black on every nail and let them dry fully. Stick a gold crescent moon on each ring finger, seal with top coat, and you're done.
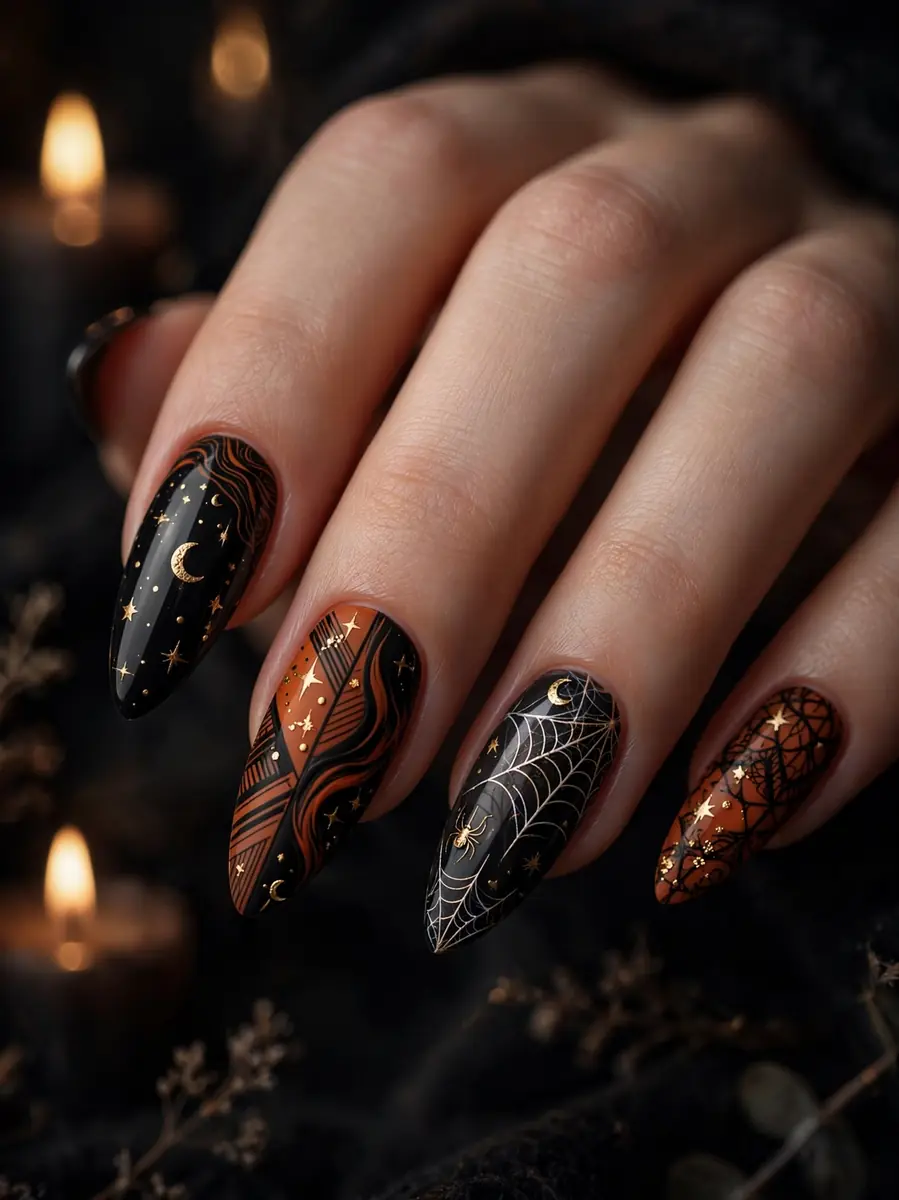
2. Spiderweb Accent Nail
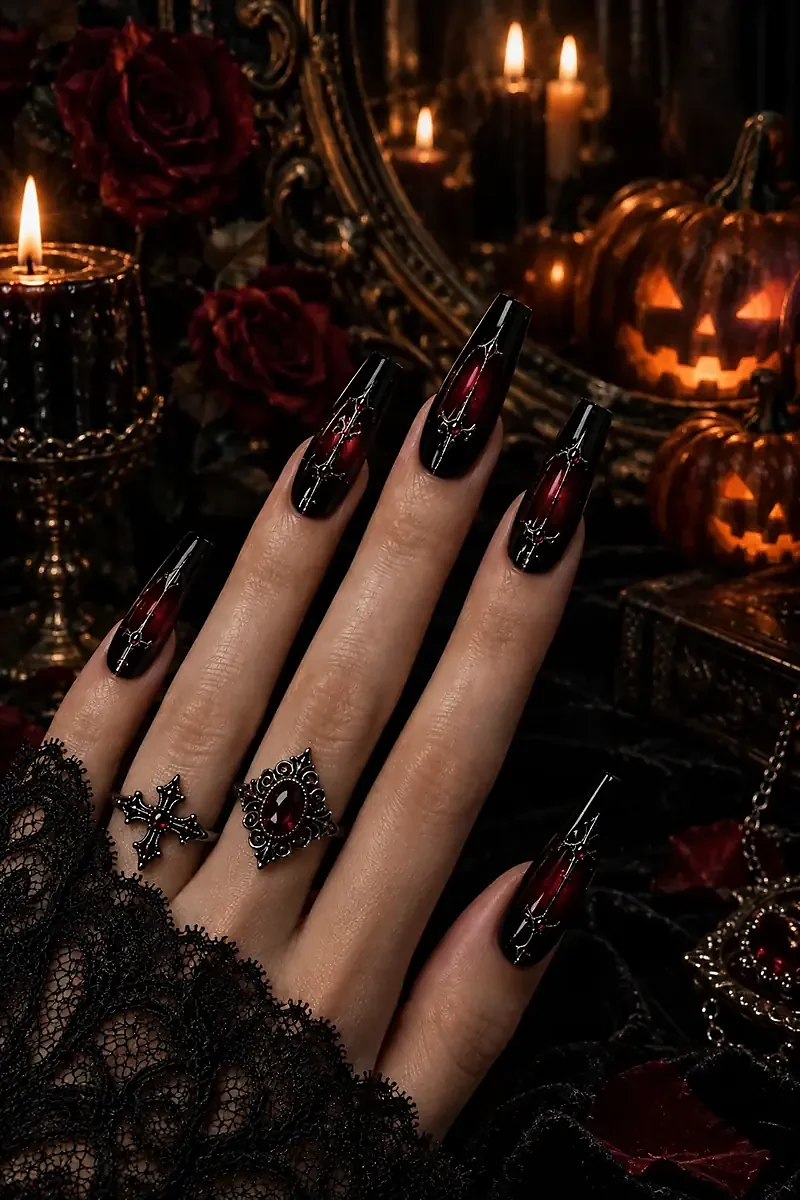
Keep nine nails simple in deep plum or black, and paint one delicate spiderweb on each ring finger. Thin lines are key, and a striper brush or even a toothpick works fine. Add a tiny spider dot and you've got the most-pinned design of the season.
You'll need:
- Deep plum polish
- White striper polish
- Thin brush or toothpick
- Top coat
How to: Paint all nails plum except the ring fingers. Draw thin crossing lines on the accent nail, then connect them with small curves to form a web. Add a tiny dot for the spider.
3. Blood Drip Tips
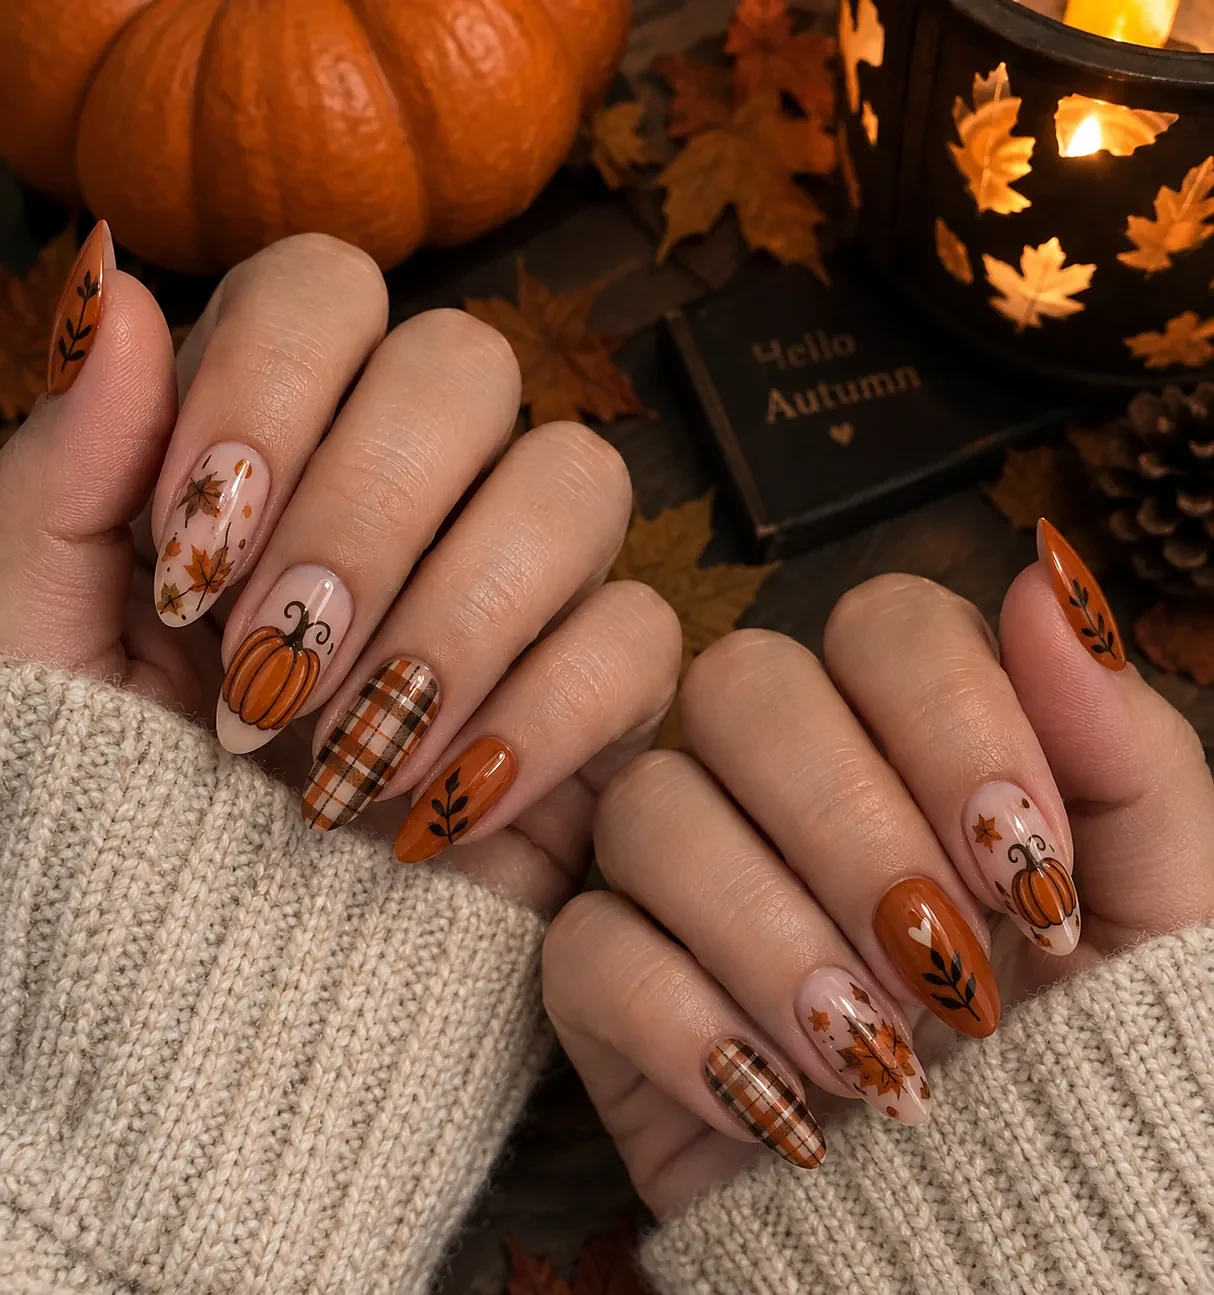
Start with a nude or pale base, then paint dark red drips coming down from the cuticle like fresh blood. A little mess works in your favor here — actually, messy is better. It's dramatic, it's easy, and it looks incredible in photos.
You'll need:
- Nude base polish
- Dark red polish
- Small detail brush
- Top coat
How to: Apply your nude base and let it dry. Use the detail brush to paint uneven drips starting at the cuticle and stopping at different lengths. Uneven drips are the whole point.
4. Tortoiseshell Halloween
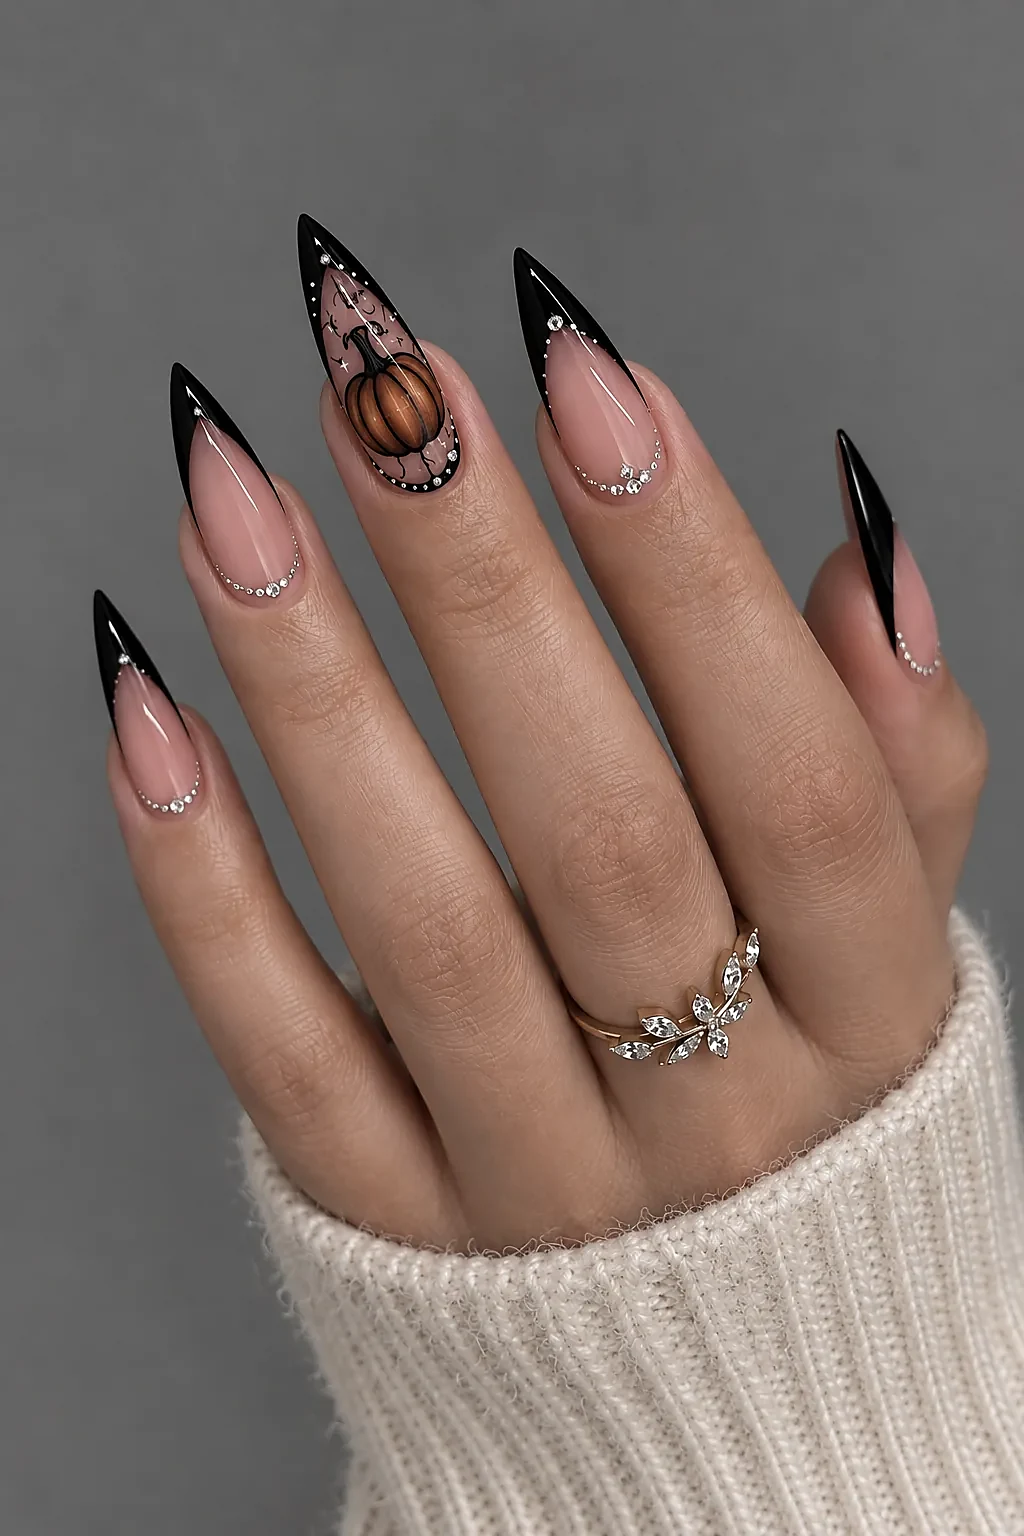
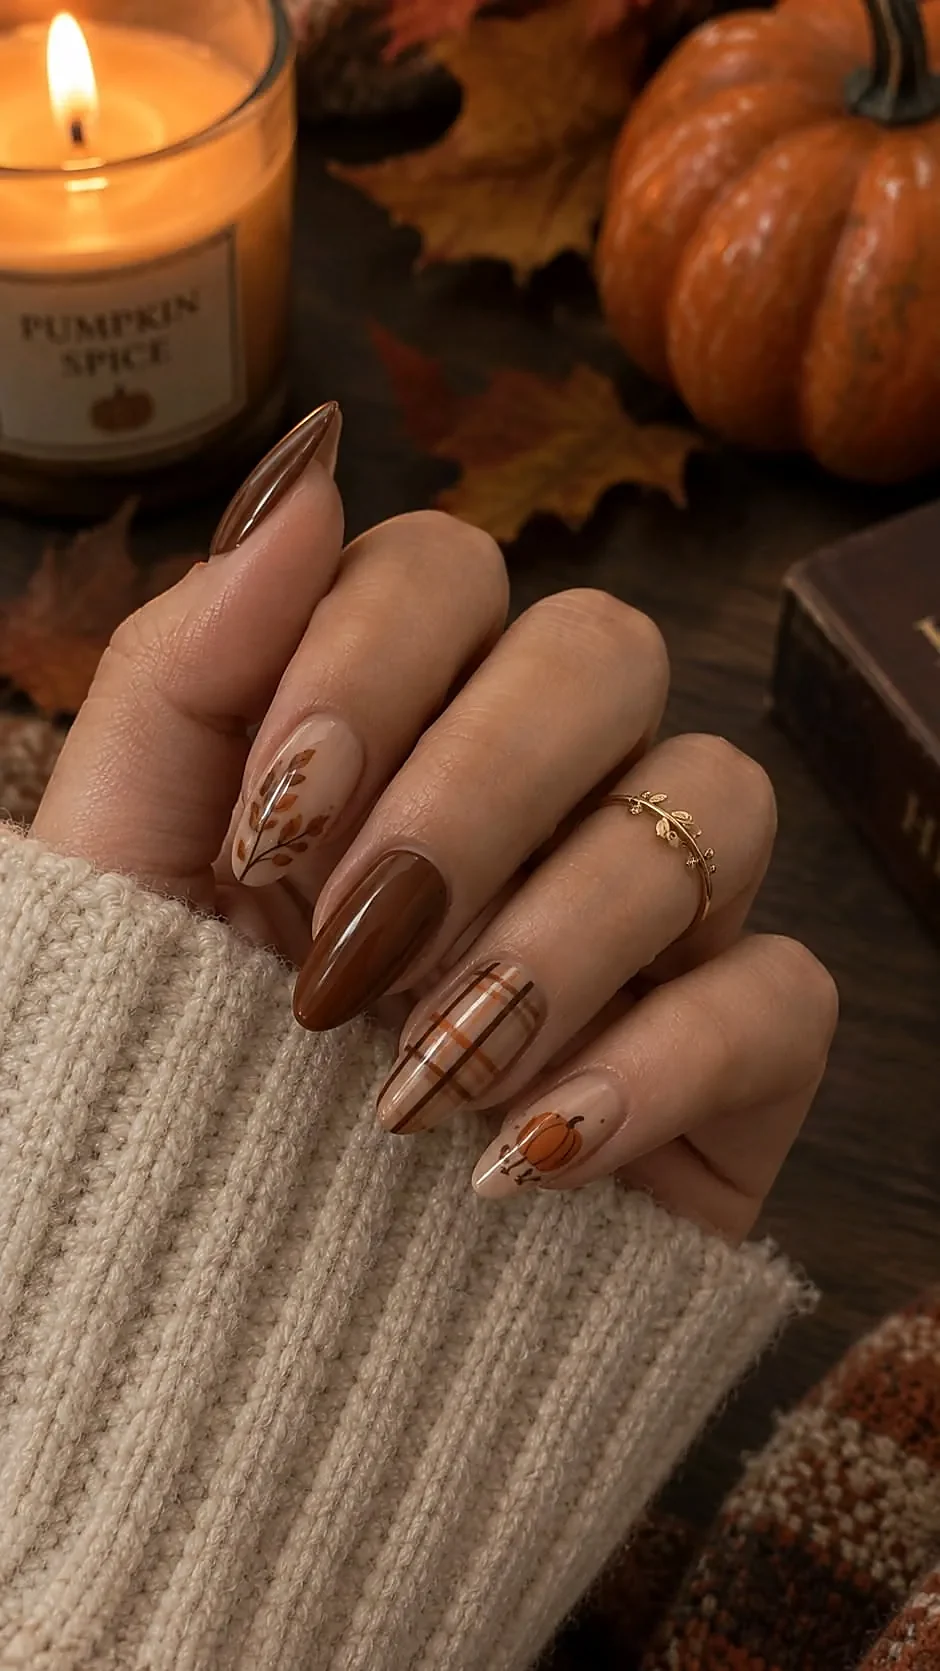
Tortoiseshell nails in amber, brown, and black are already trendy. Add one tiny pumpkin or ghost decal and they are suddenly Halloween. This is the design for people who want seasonal nails that still look expensive.
You'll need:
- Amber polish
- Brown polish
- Black polish
- Small pumpkin decals
How to: Sponge amber and brown together in blotches, then add black outlines to build the tortoiseshell effect. Press one pumpkin decal onto an accent nail and seal.
5. Ghost Faces
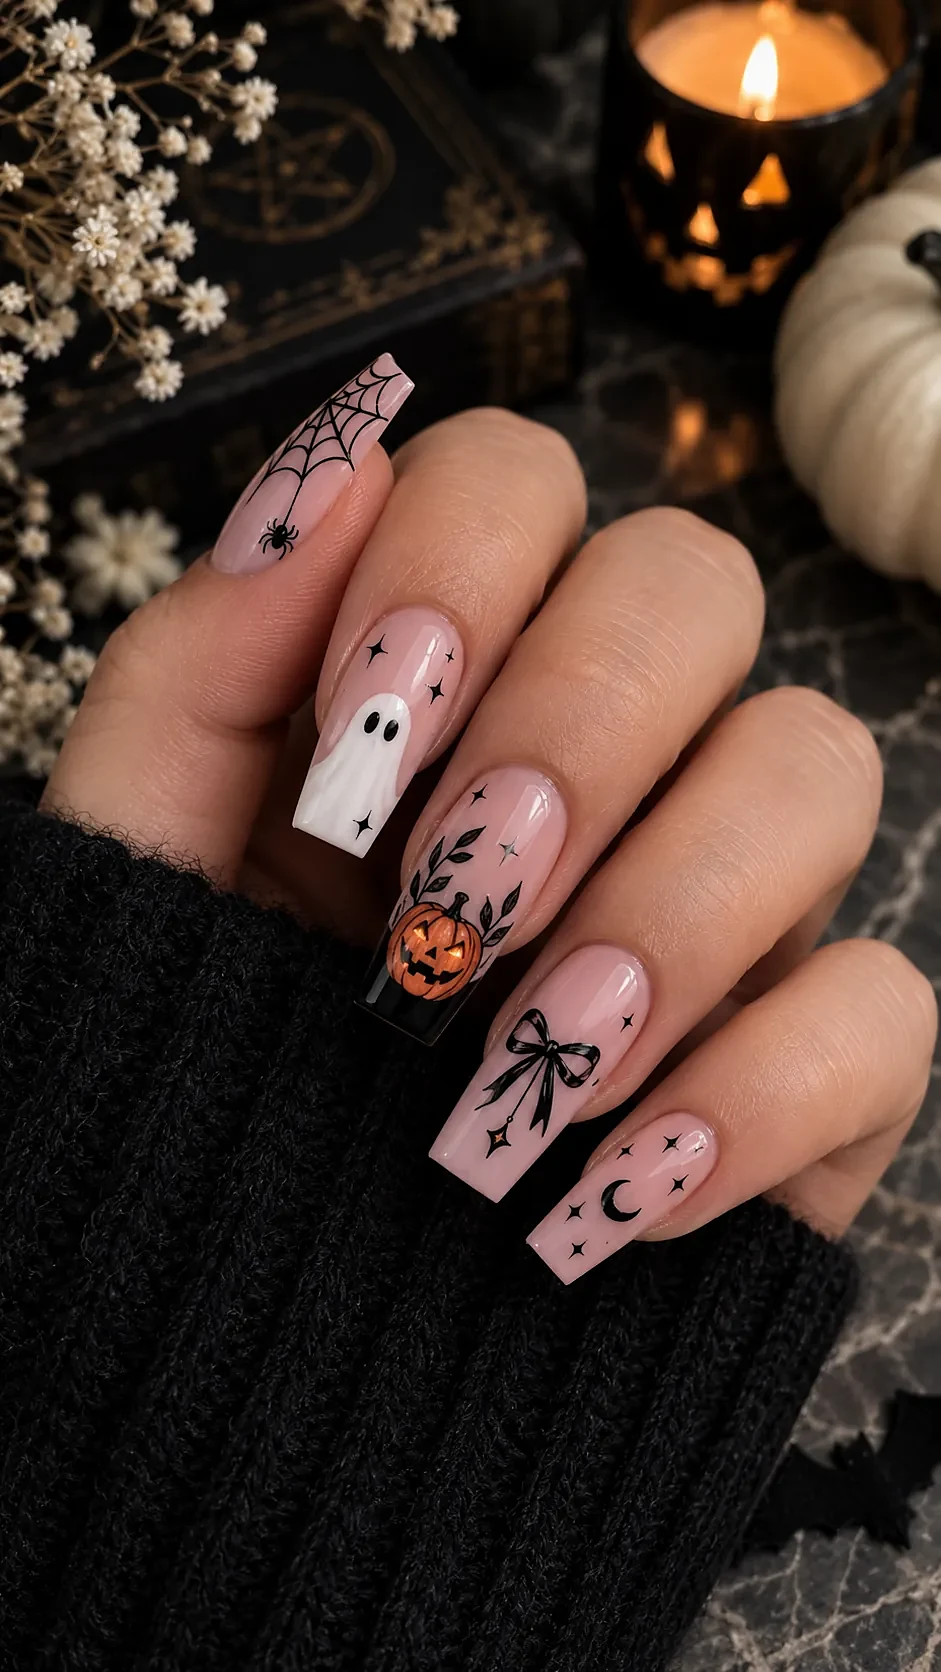
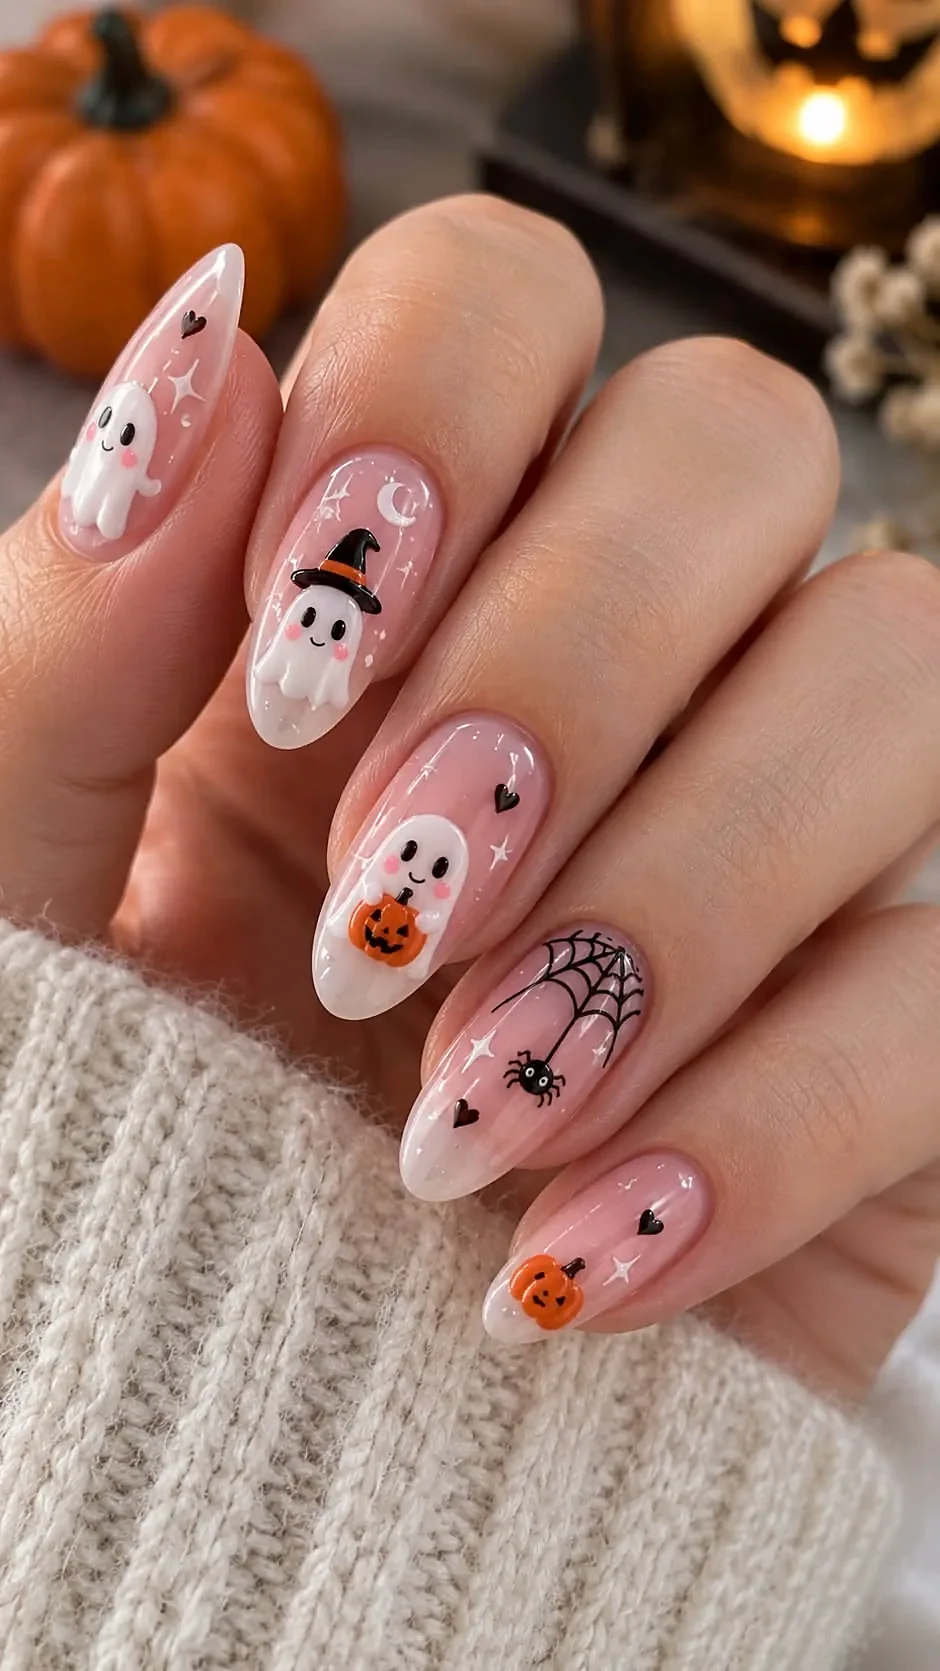
Milky white base, two black dots for eyes, one little oval mouth. That's it. These tiny ghosts are impossibly cute and weirdly easy to paint. They work on any nail length, which is rare for nail art.
You'll need:
- Milky white polish
- Black detail polish
- Dotting tool
- Top coat
How to: Paint a milky white base on every nail. Dot two black eyes and one small oval mouth on each nail to make the ghosts. Keep the faces tiny and off-center for charm.
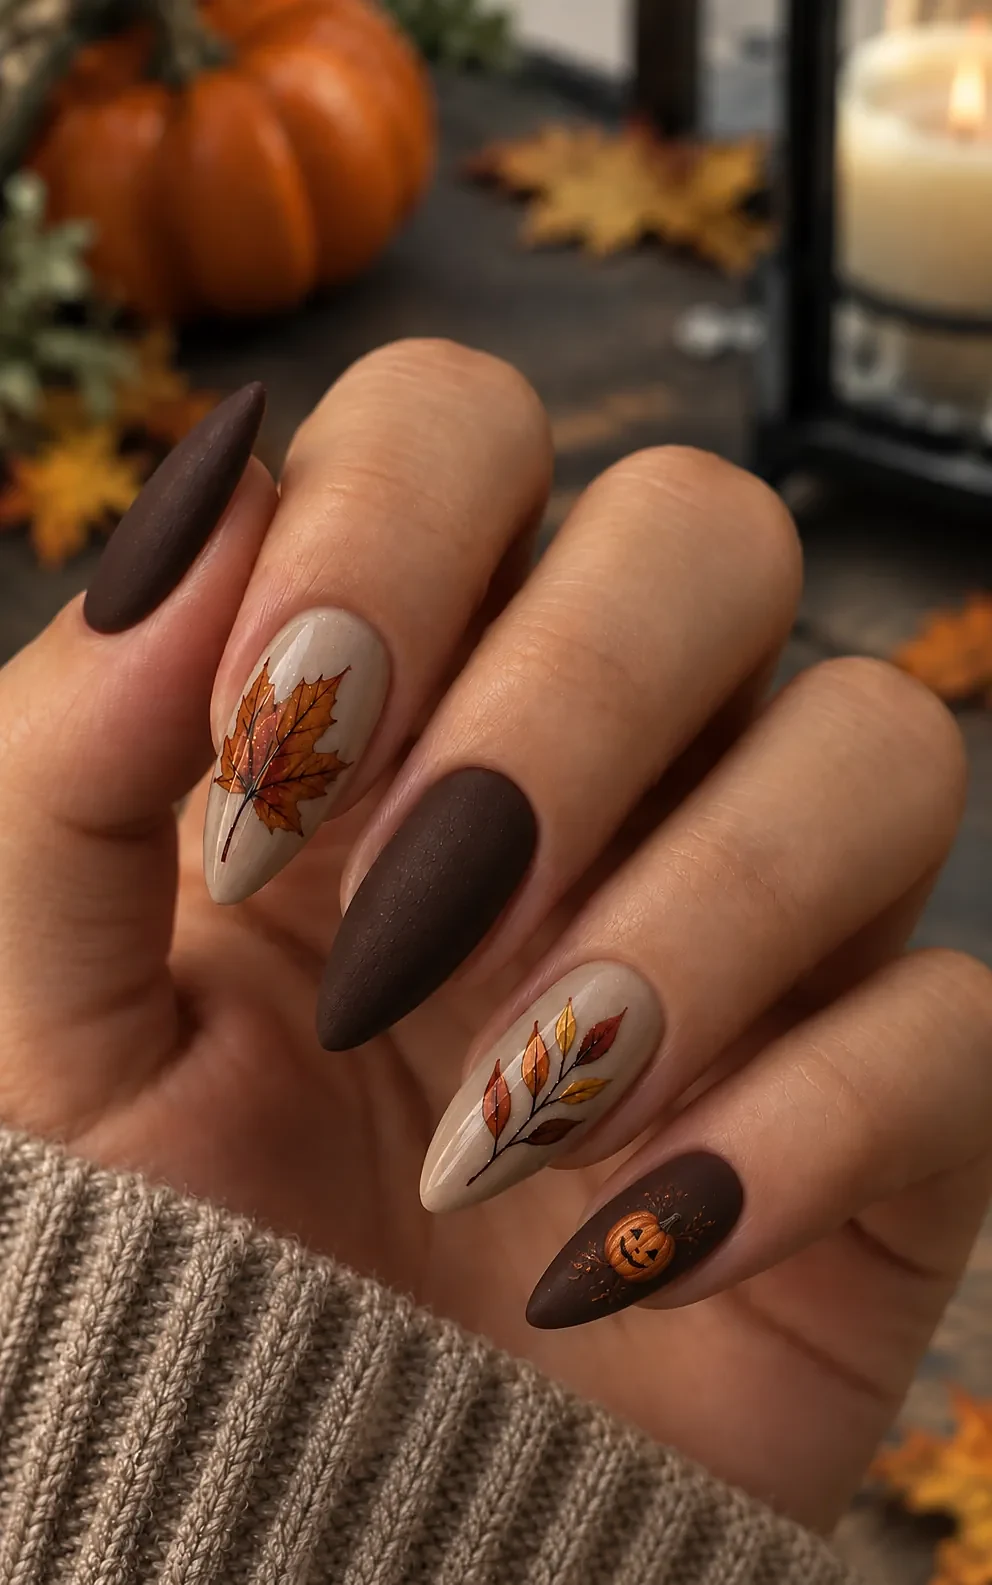
6. Pumpkin Orange Ombre
Blend pumpkin orange into deep burgundy from tip to base, or reverse it. The gradient does all the work, no art skills needed. A makeup sponge gives the smoothest blend. Top with a glossy coat and they practically glow.
You'll need:
- Pumpkin orange polish
- Burgundy polish
- Makeup sponge
- Glossy top coat
How to: Dab orange and burgundy side by side on a makeup sponge. Press the sponge onto each nail a few times until the gradient blends. Finish with a glossy top coat.
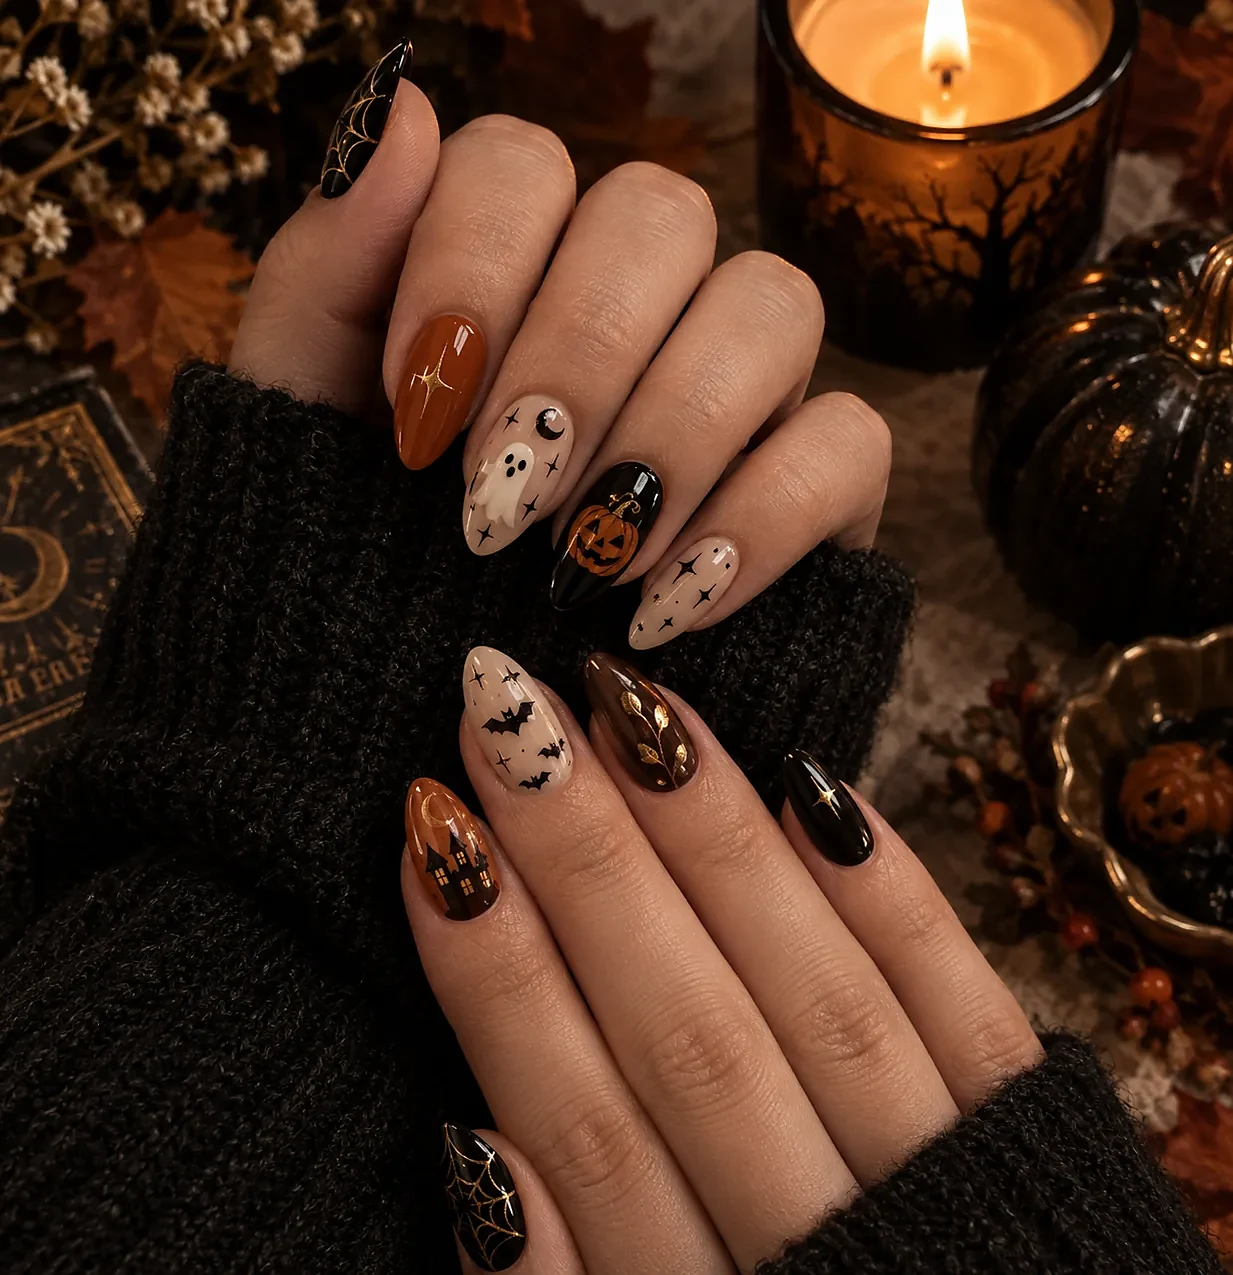
7. Purple Chrome Witch
Purple chrome powder over black polish gives that oil-slick witchy shimmer. It catches the light every time you move your hands. You'll need a no-wipe top coat for the chrome to stick, but the result is pure magic.
You'll need:
- Black polish
- Purple chrome powder
- No-wipe top coat
- Applicator sponge
How to: Paint black and cure or dry it fully. Rub the chrome powder over a no-wipe top coat until it shines purple, then seal with another layer of top coat.
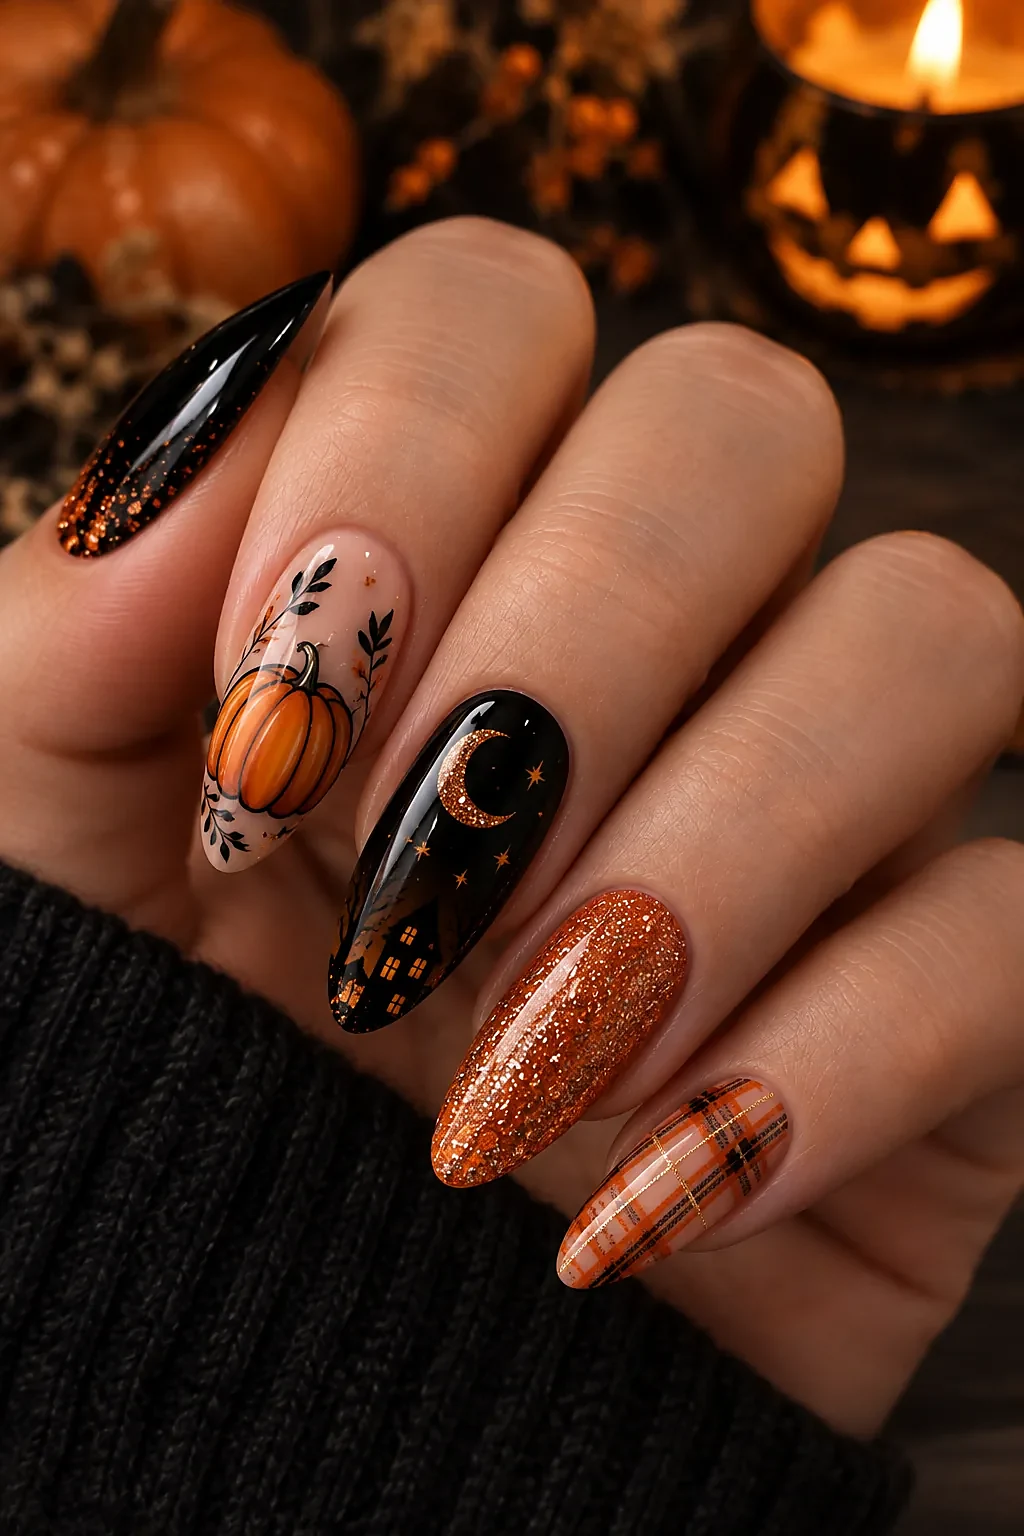
8. Bat Silhouettes
Paint tiny bat shapes flying across a dusky purple-to-black gradient. Stamp plates make this foolproof, but a steady hand and a dotting tool work too. A whole flock spread across ten nails looks amazing in person.
You'll need:
- Dark purple polish
- Black polish
- Stamp plate or dotting tool
- Top coat
How to: Blend a purple-to-black gradient as your base. Stamp or hand-paint small bat shapes across two or three nails. Keep the rest of the nails plain so the bats stand out.
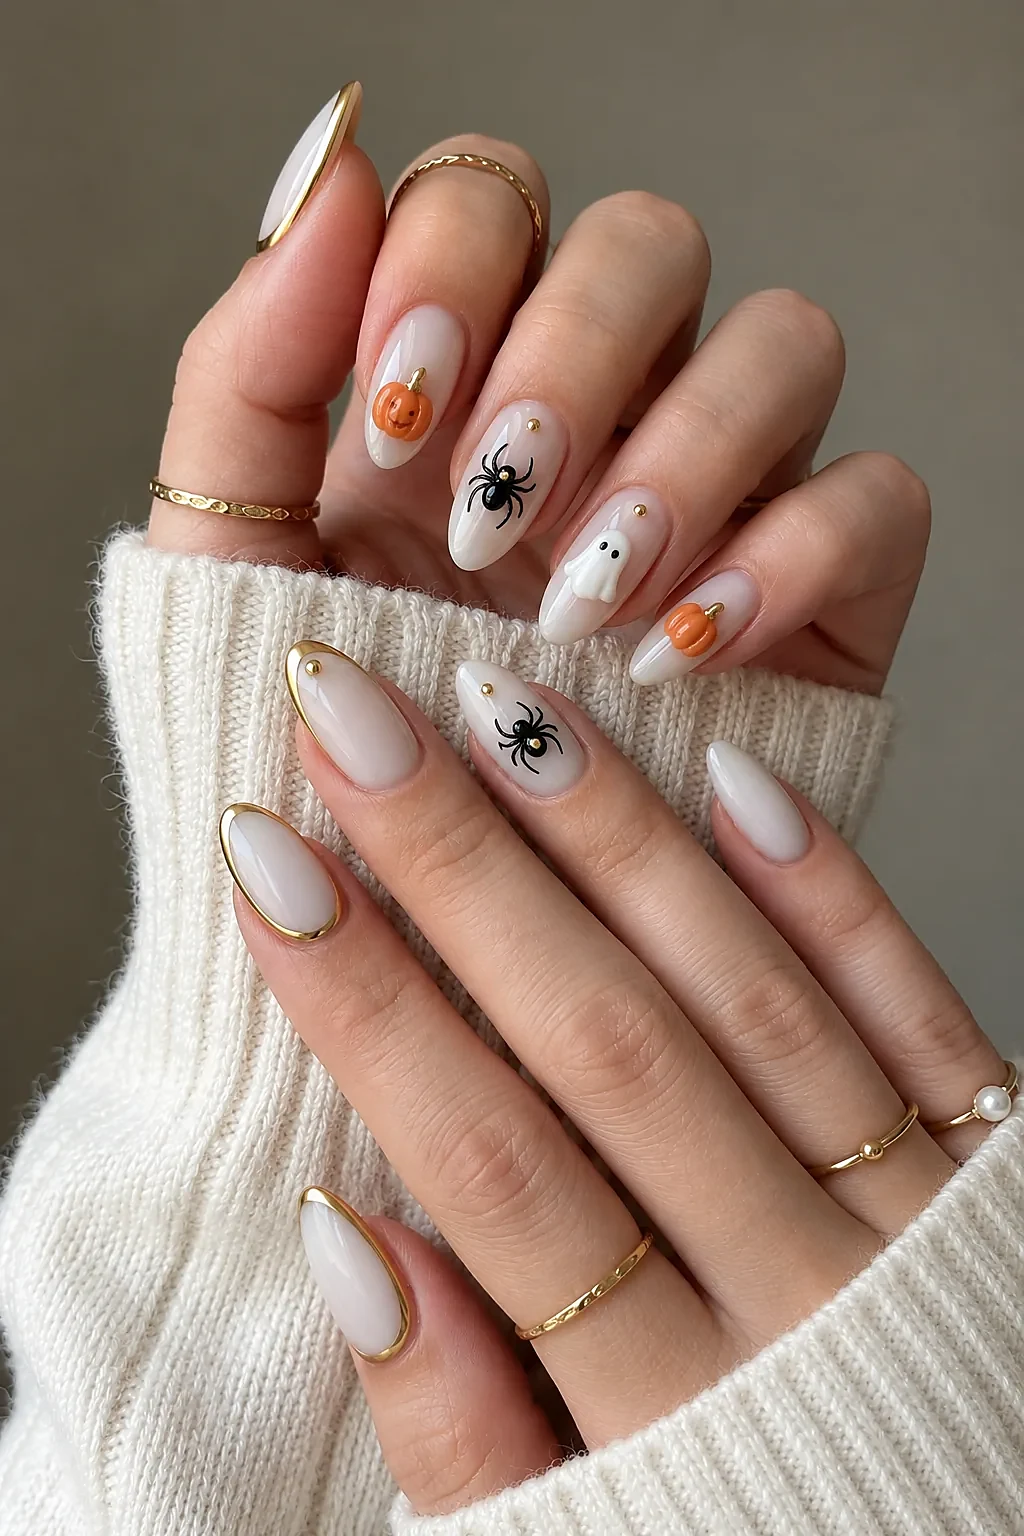
9. Candy Corn Tips
French tips, but make them candy corn: white tip, orange middle, yellow base. It's retro, it's cheerful, it's unmistakably Halloween. This one gets compliments from strangers. People notice.
You'll need:
- White polish
- Orange polish
- Yellow polish
- French tip guides
How to: Apply yellow over the whole nail as the base. Paint the middle band orange and the tip white using guides for clean lines. Seal with top coat.
10. Haunted House Scene
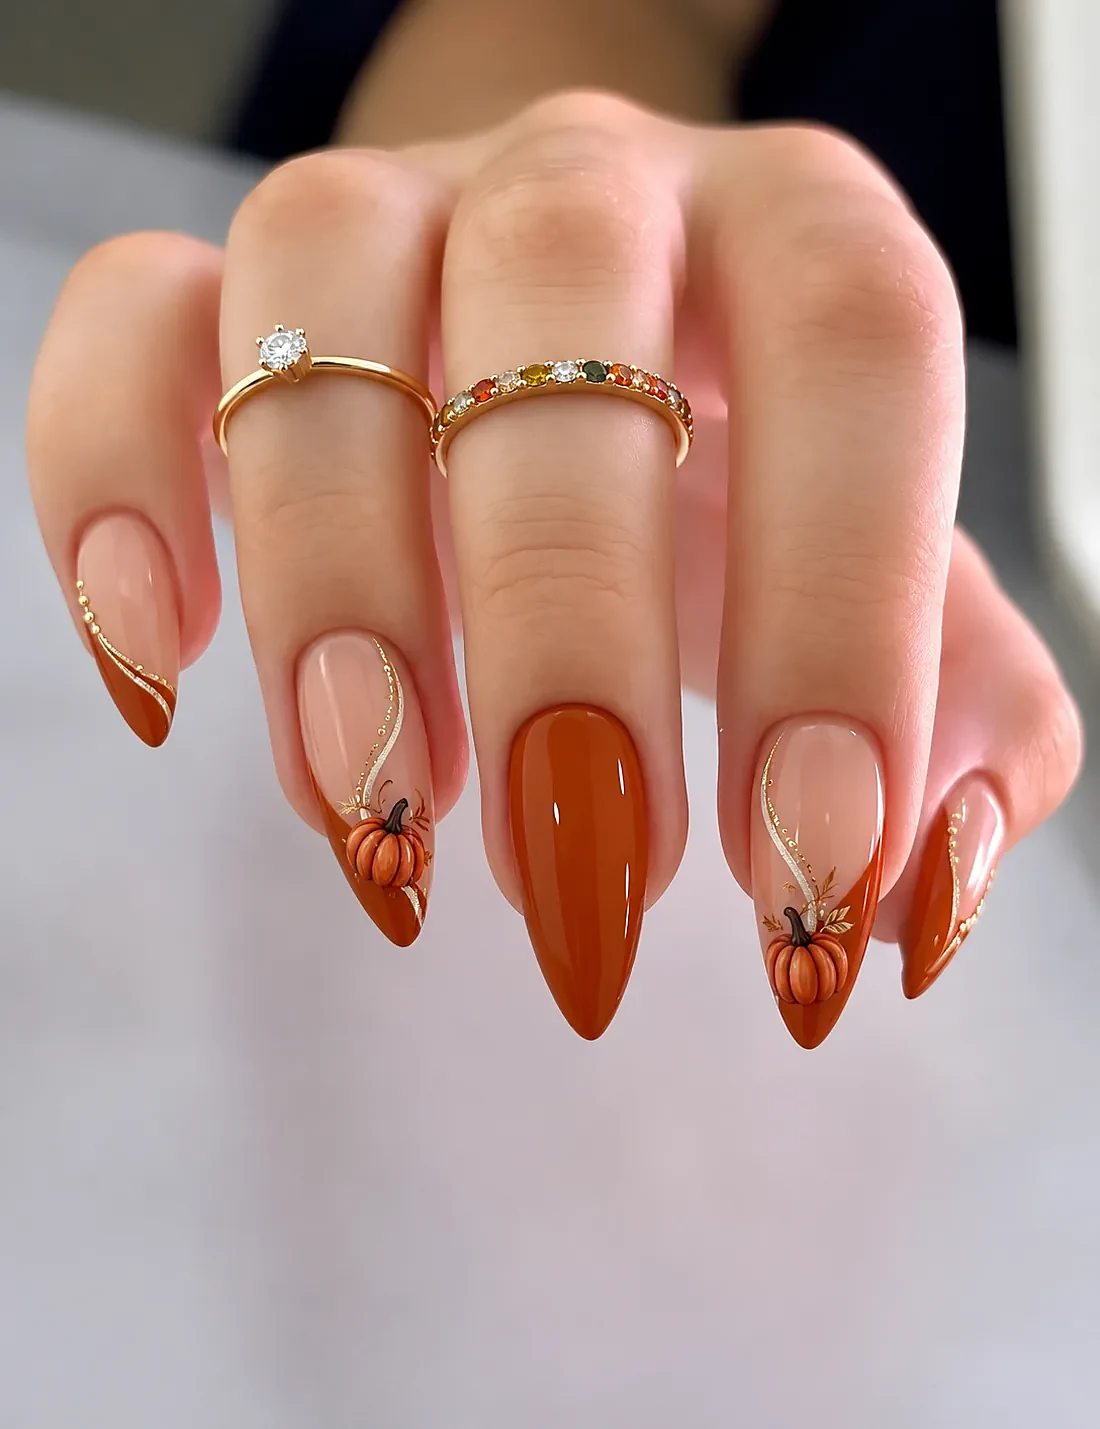
One or two accent nails get the full scene: black house silhouette, glowing yellow windows, full moon, over a midnight blue base. Keep the other nails solid. It's miniature art, so take your time or show your nail tech a reference photo.
You'll need:
- Midnight blue polish
- Black polish
- Yellow polish
- Fine liner brush
How to: Paint accent nails midnight blue. Silhouette a black house with glowing yellow windows and a moon. Keep the other nails solid blue so the scene pops.
11. Celestial Dark
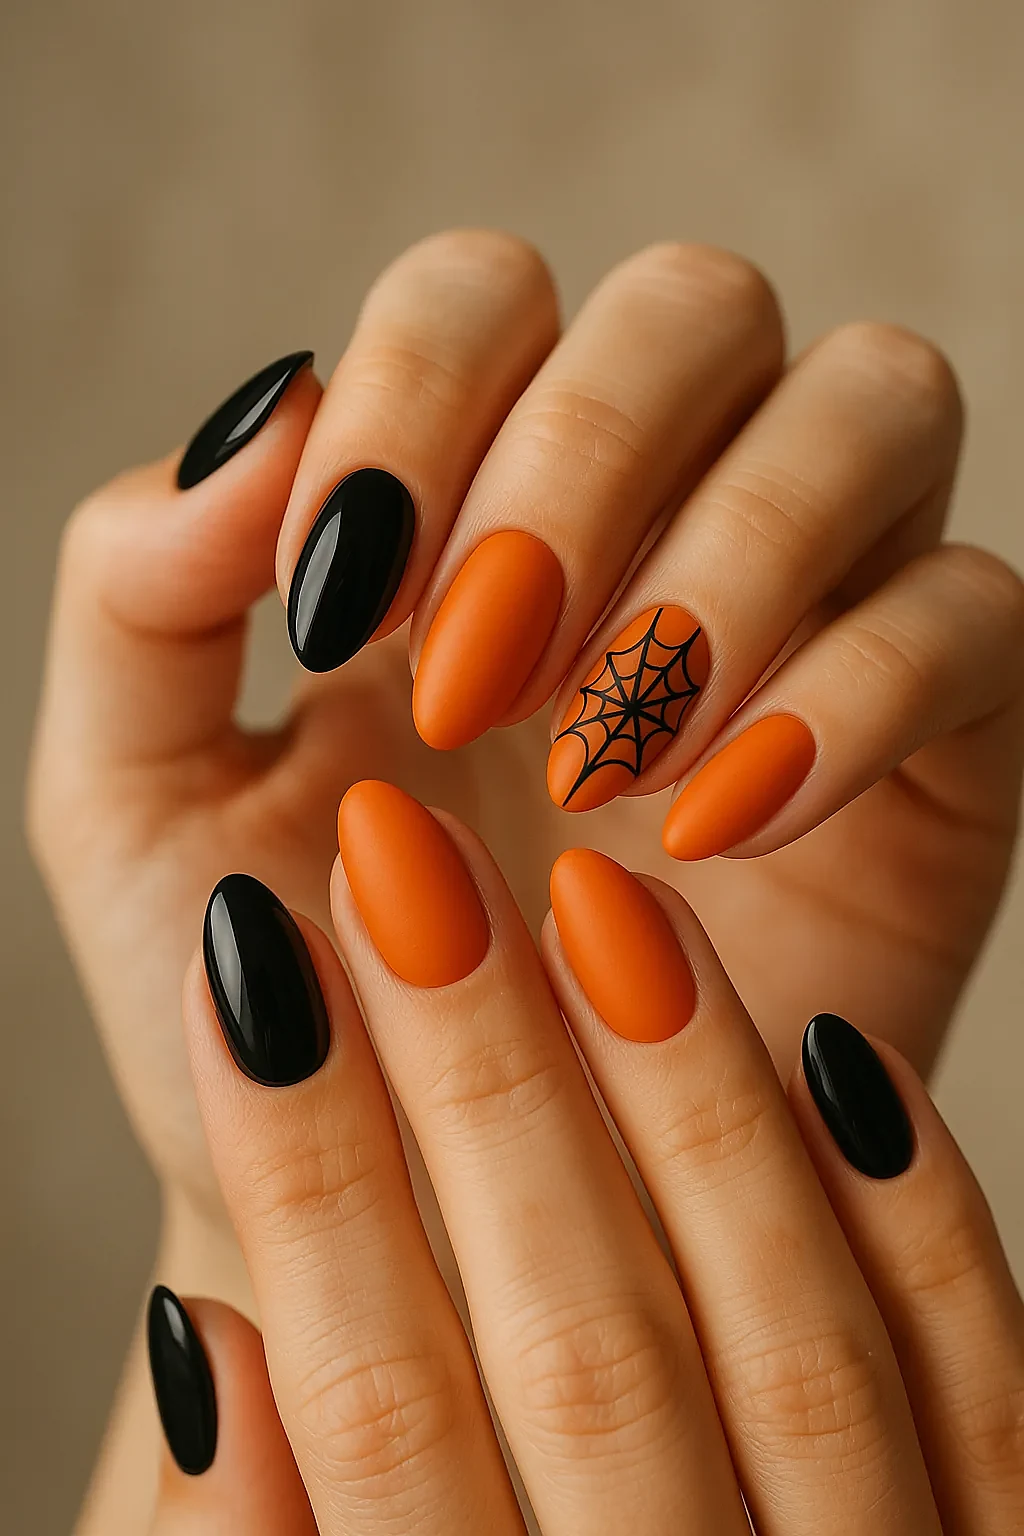
Tiny stars, moons, and constellations scattered over near-black polish. Think night sky, but make it October. Gold or silver details pop beautifully against the dark base. Mystical without a single spider in sight.
You'll need:
- Near-black polish
- Gold detail polish
- Silver detail polish
- Dotting tool
How to: Paint every nail near-black. Scatter tiny stars, moons, and dots in gold and silver across the nails. No two nails need to match.
12. Matte Black Coffin Nails
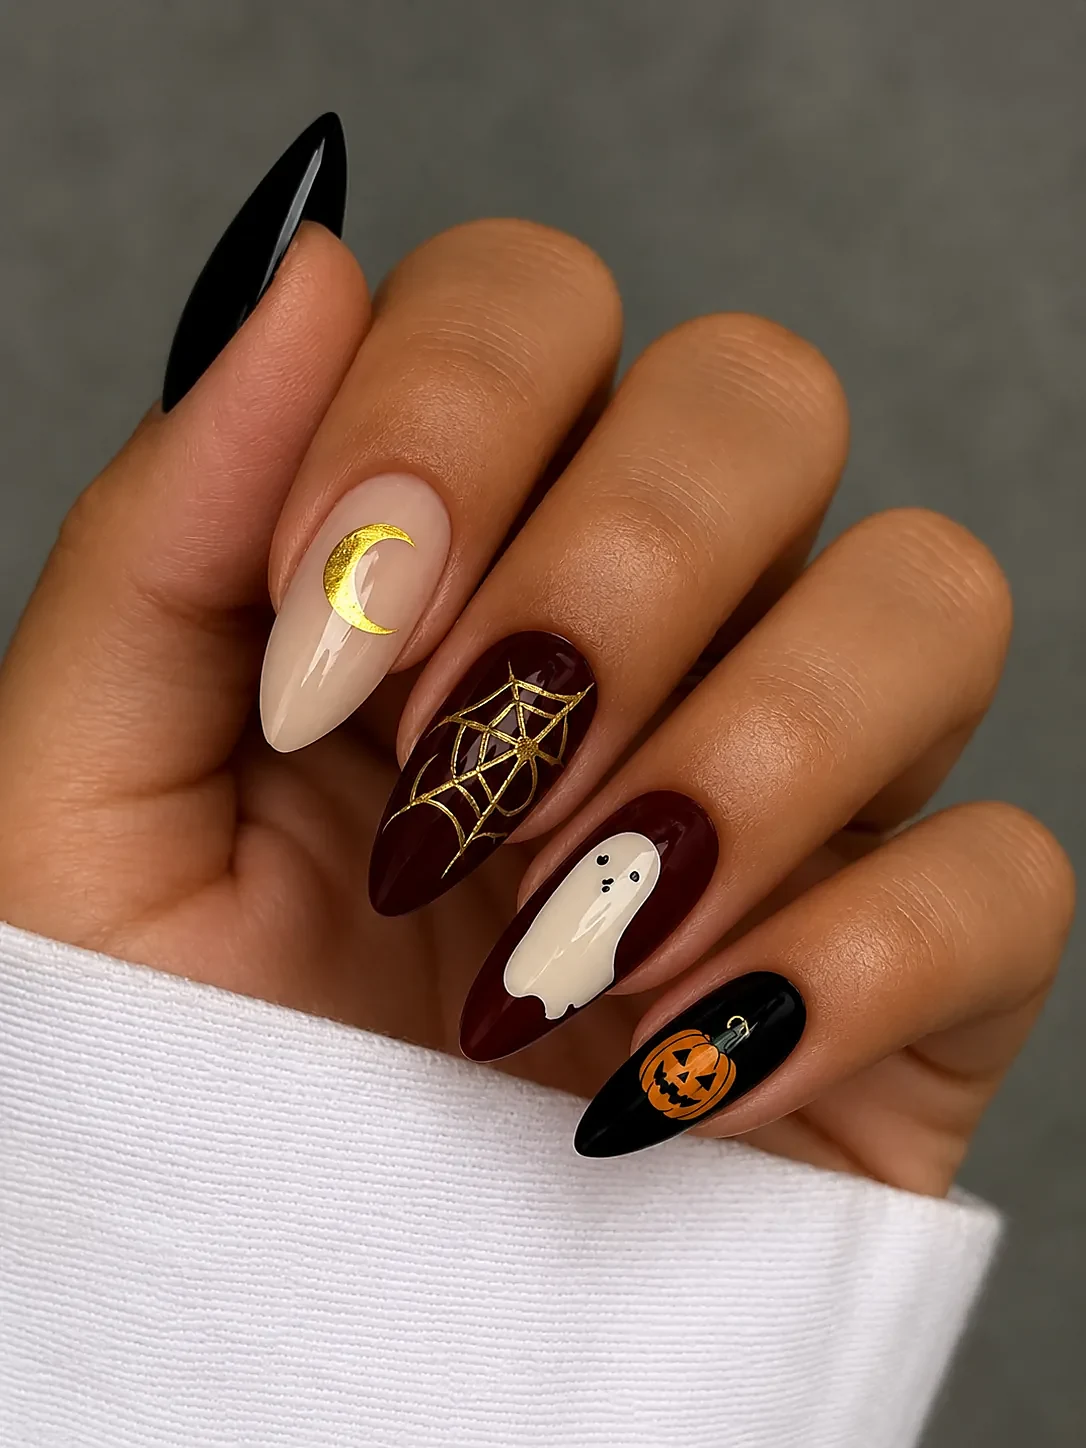
Long coffin shape, matte black, nothing else. The restraint is the point. This is the power move of Halloween nails: all attitude, zero effort. A matte top coat is the only supply you need.
You'll need:
- Black polish
- Matte top coat
- Nail file
- Cuticle oil
How to: Shape the nails into a coffin silhouette and file smooth. Apply black polish, then finish with a matte top coat instead of a glossy one. Add cuticle oil once dry.
13. Spider 3D Accent
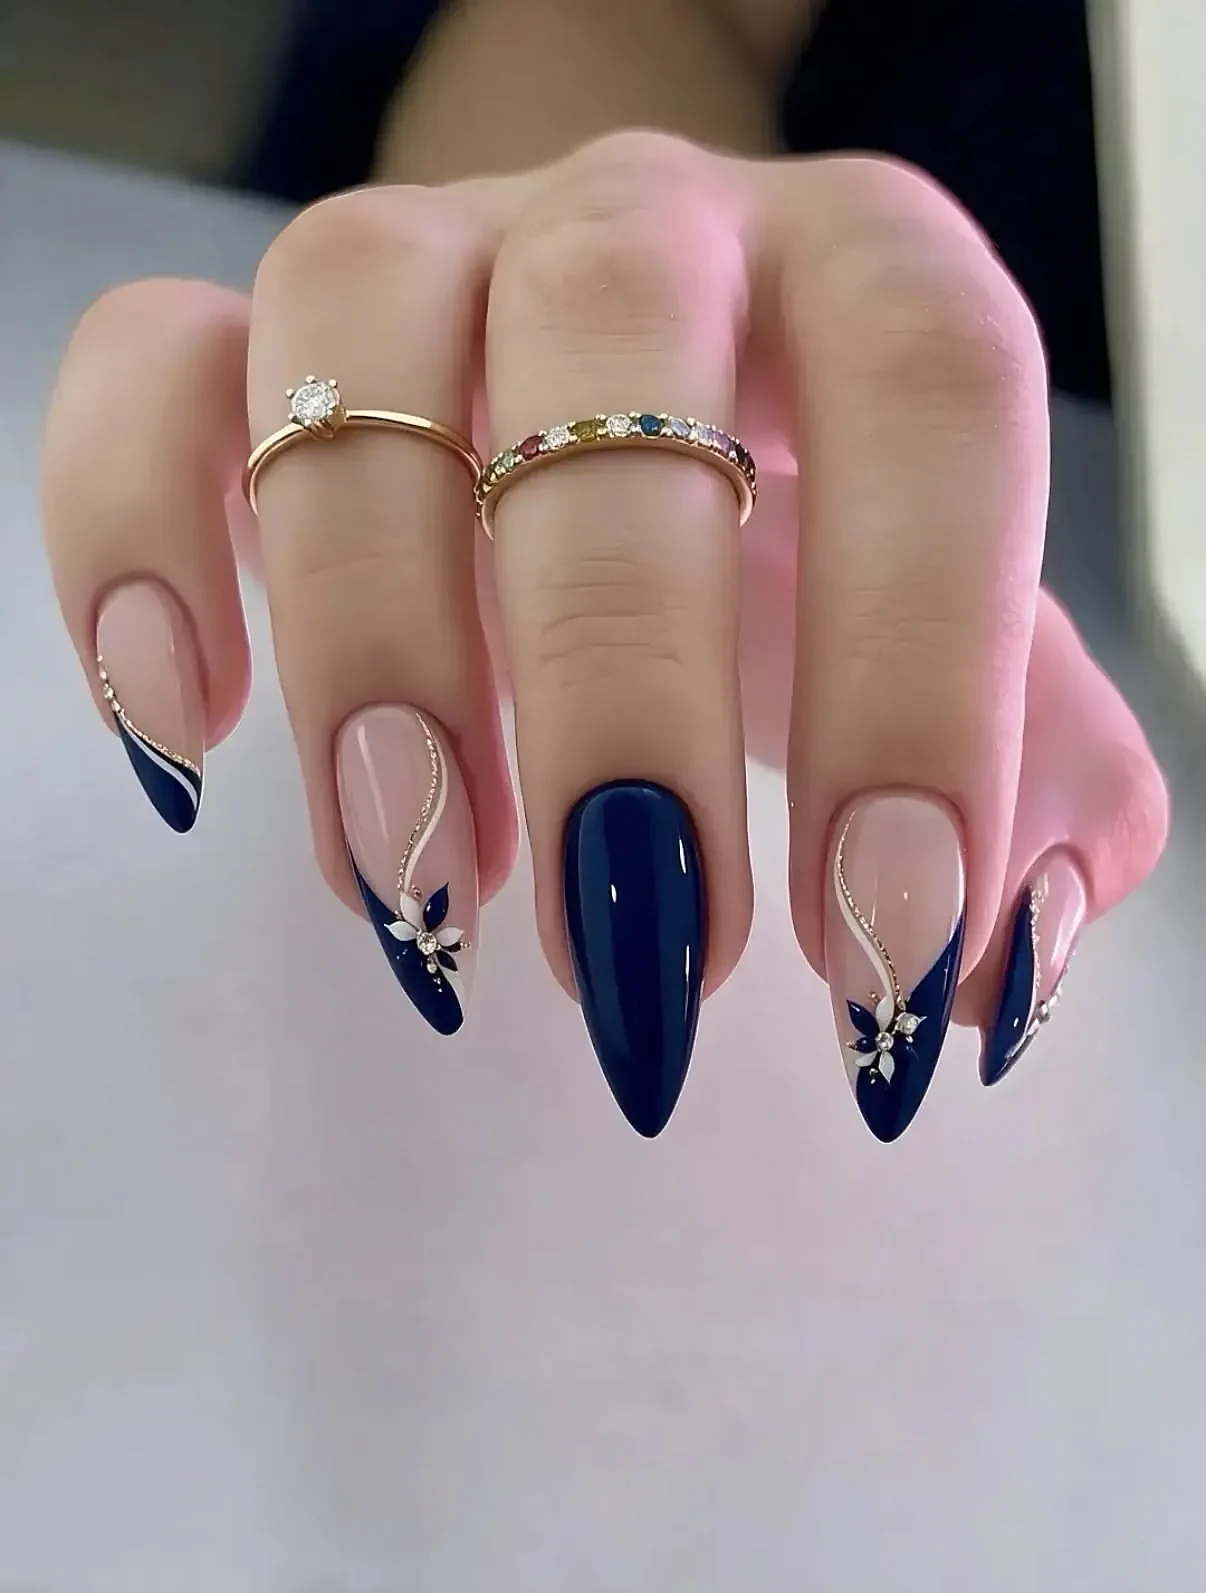
One nail gets a tiny 3D spider charm glued on over dark polish. It catches everyone off guard in the best way. Keep the other nine nails simple so the spider gets all the attention. Not for the faint of heart, or arachnophobes.
You'll need:
- Dark polish
- 3D spider nail charm
- Nail glue
- Top coat
How to: Paint all nails dark and let them dry. Glue the spider charm onto one accent nail and press for a few seconds. Leave the rest simple and let the spider take center stage.
14. Orange & Black French Tips
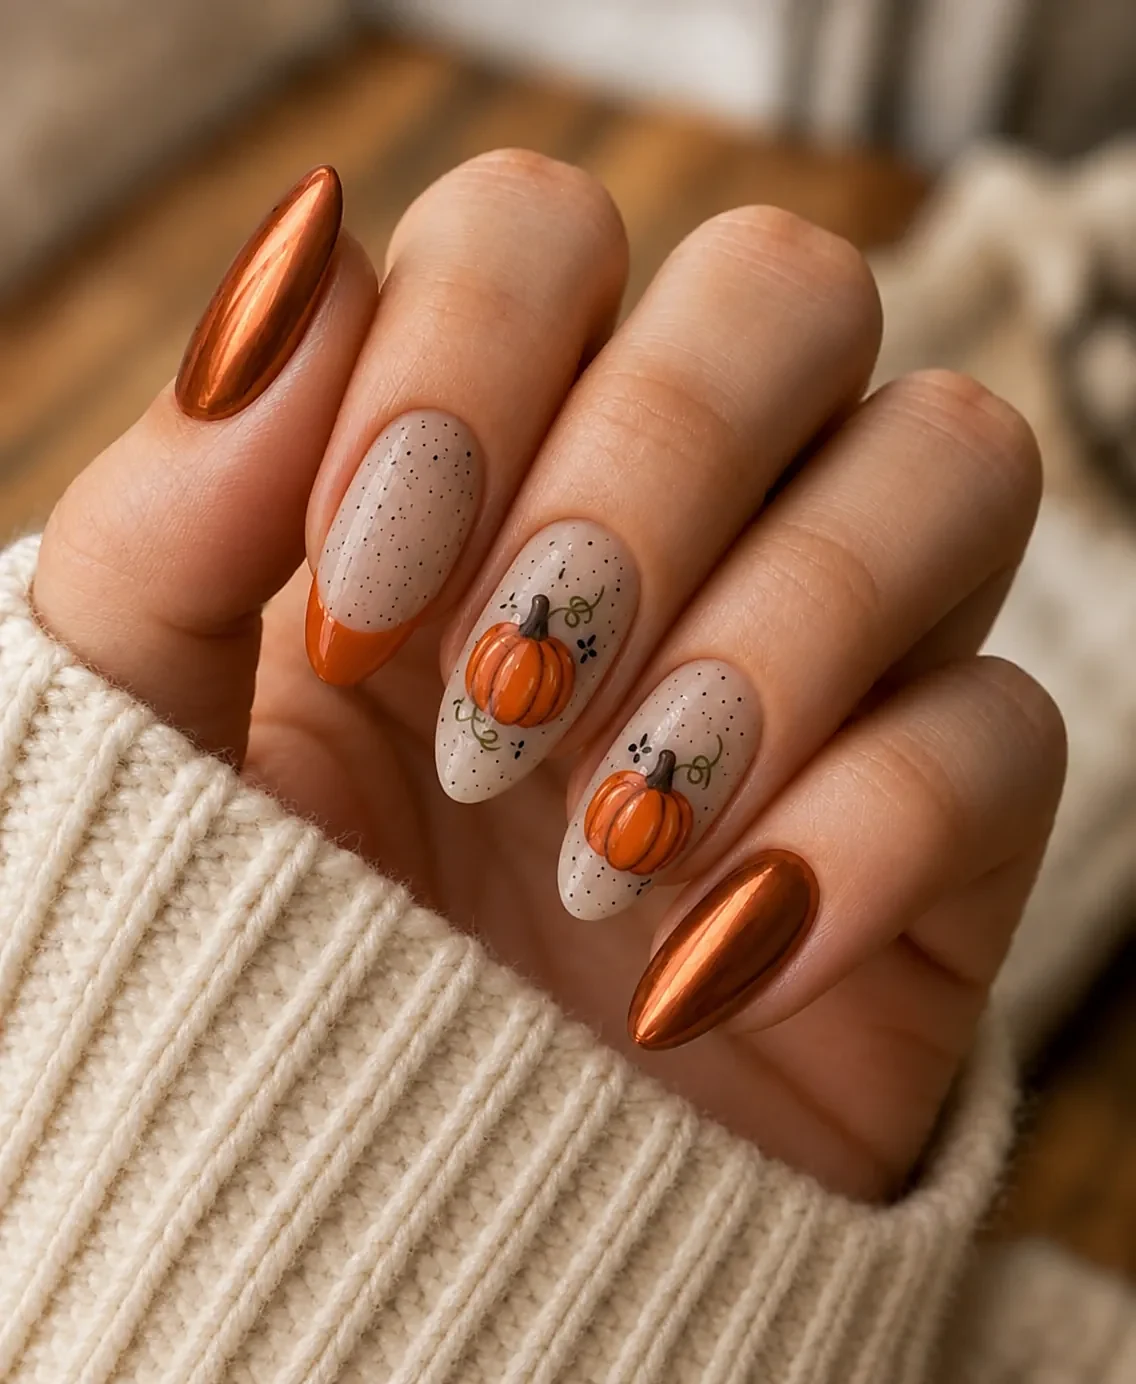
Classic French manicure shape, Halloween colors. Black tips on nude, or orange tips on black, both work. This is the office-friendly Halloween nail — subtle enough for Monday, spooky enough for the party. Festive enough for the holiday party, subtle enough for Monday morning.
You'll need:
- Nude polish
- Black polish
- Orange polish
- French tip guides
How to: Apply nude as the base. Paint black tips on some nails and orange tips on others, or alternate. Use guides to keep the smile lines even.
15. Ouija Board Inspired
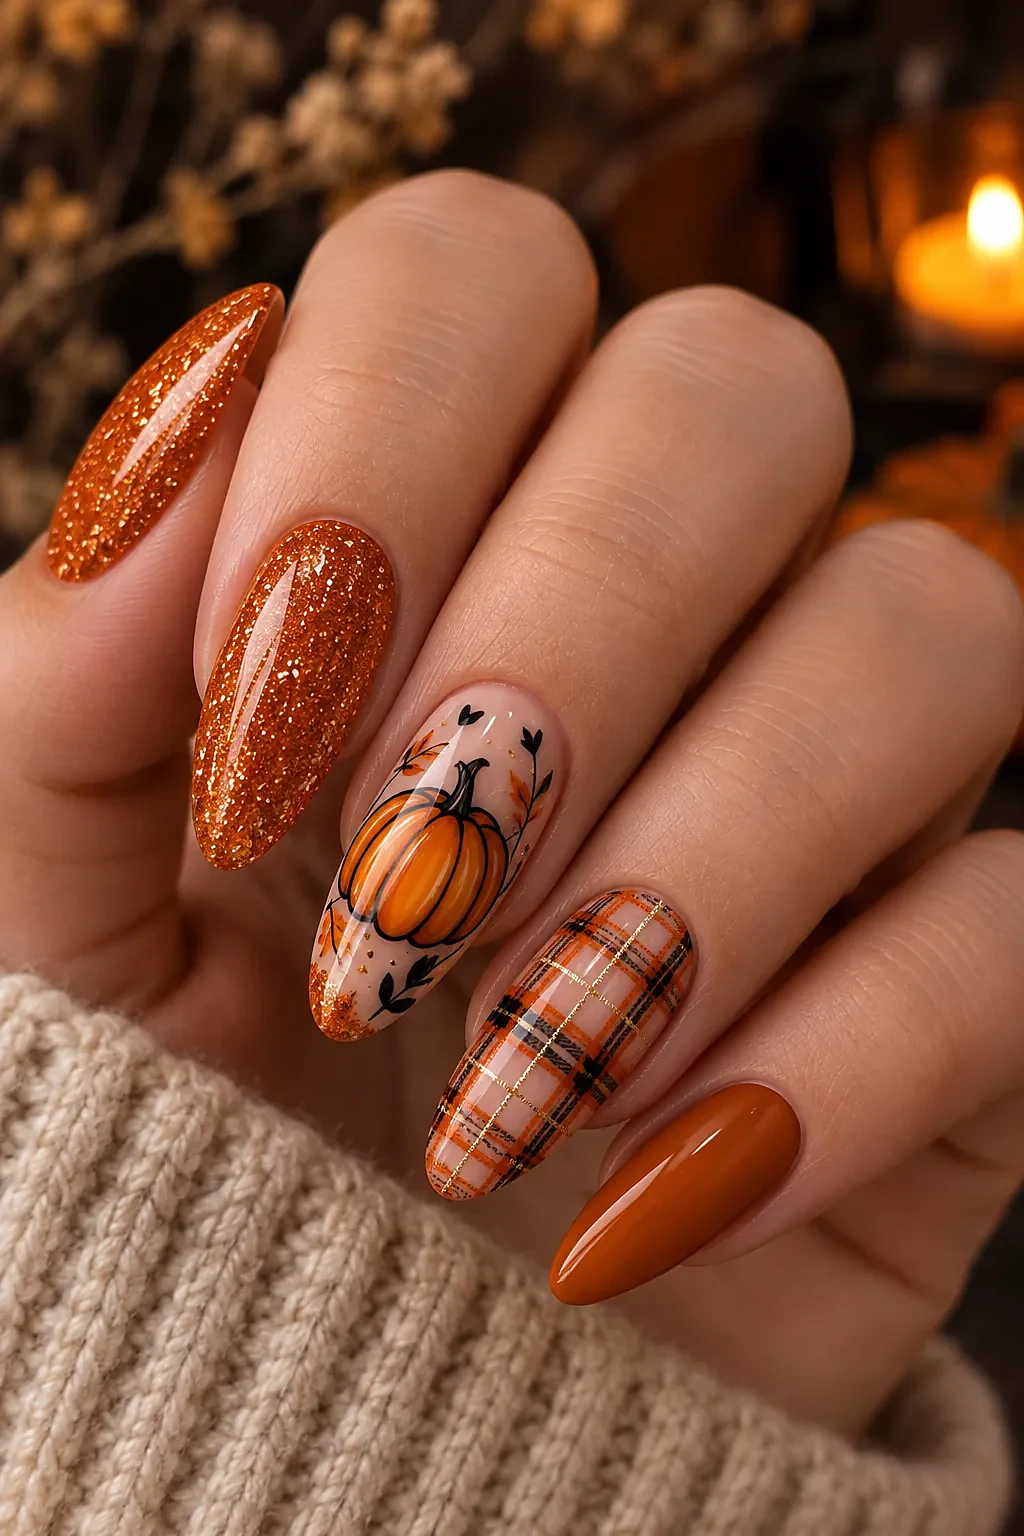
Cream base with tiny planchette and letter details on accent nails. It's niche, it's clever, and fellow horror fans will lose their minds spotting the reference. A fine liner brush is your best friend here.
You'll need:
- Cream polish
- Black fine liner
- Small letter decals
- Top coat
How to: Paint a cream base on accent nails. Draw a tiny planchette shape and add a few letters with the fine liner. Seal carefully so the details don't smudge.
16. Jack-o'-Lantern Faces
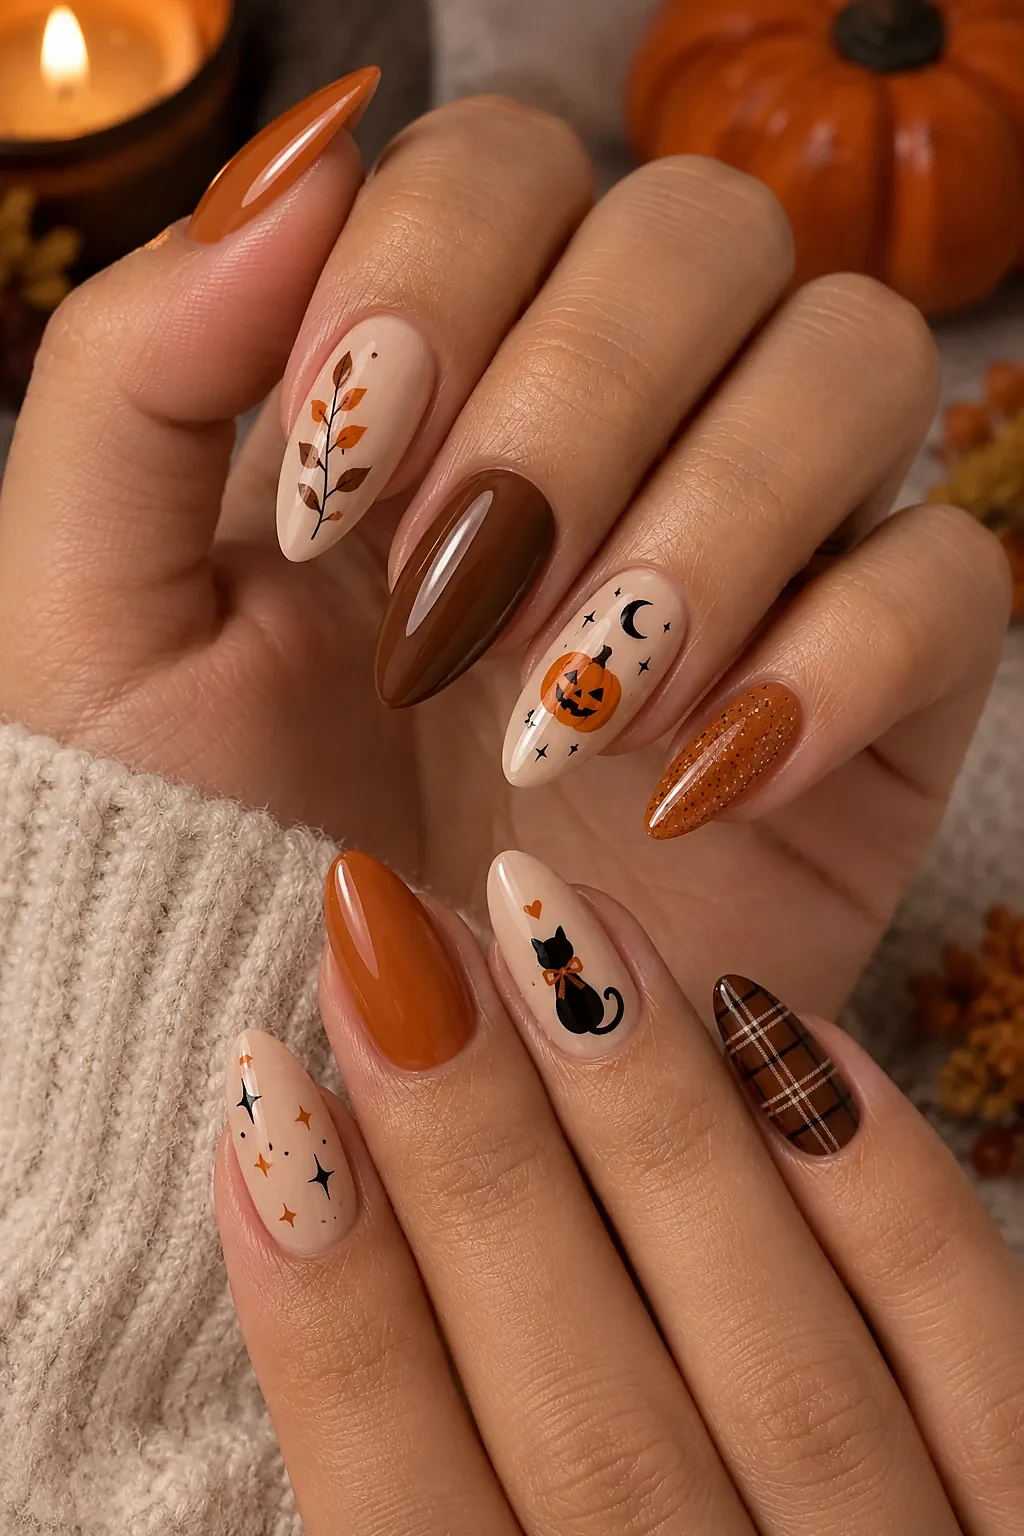
Orange base, black triangle eyes, jagged smiles. Goofy, classic, impossible to mess up. This is the design to try if you've never done nail art before. A little unevenness only makes it look more handmade.
You'll need:
- Orange polish
- Black detail polish
- Dotting tool
- Top coat
How to: Paint every nail orange. Add two triangle eyes and a jagged smile in black on each nail. Don't stress about symmetry — slightly uneven lines look more natural.
17. Deep Burgundy with Spider
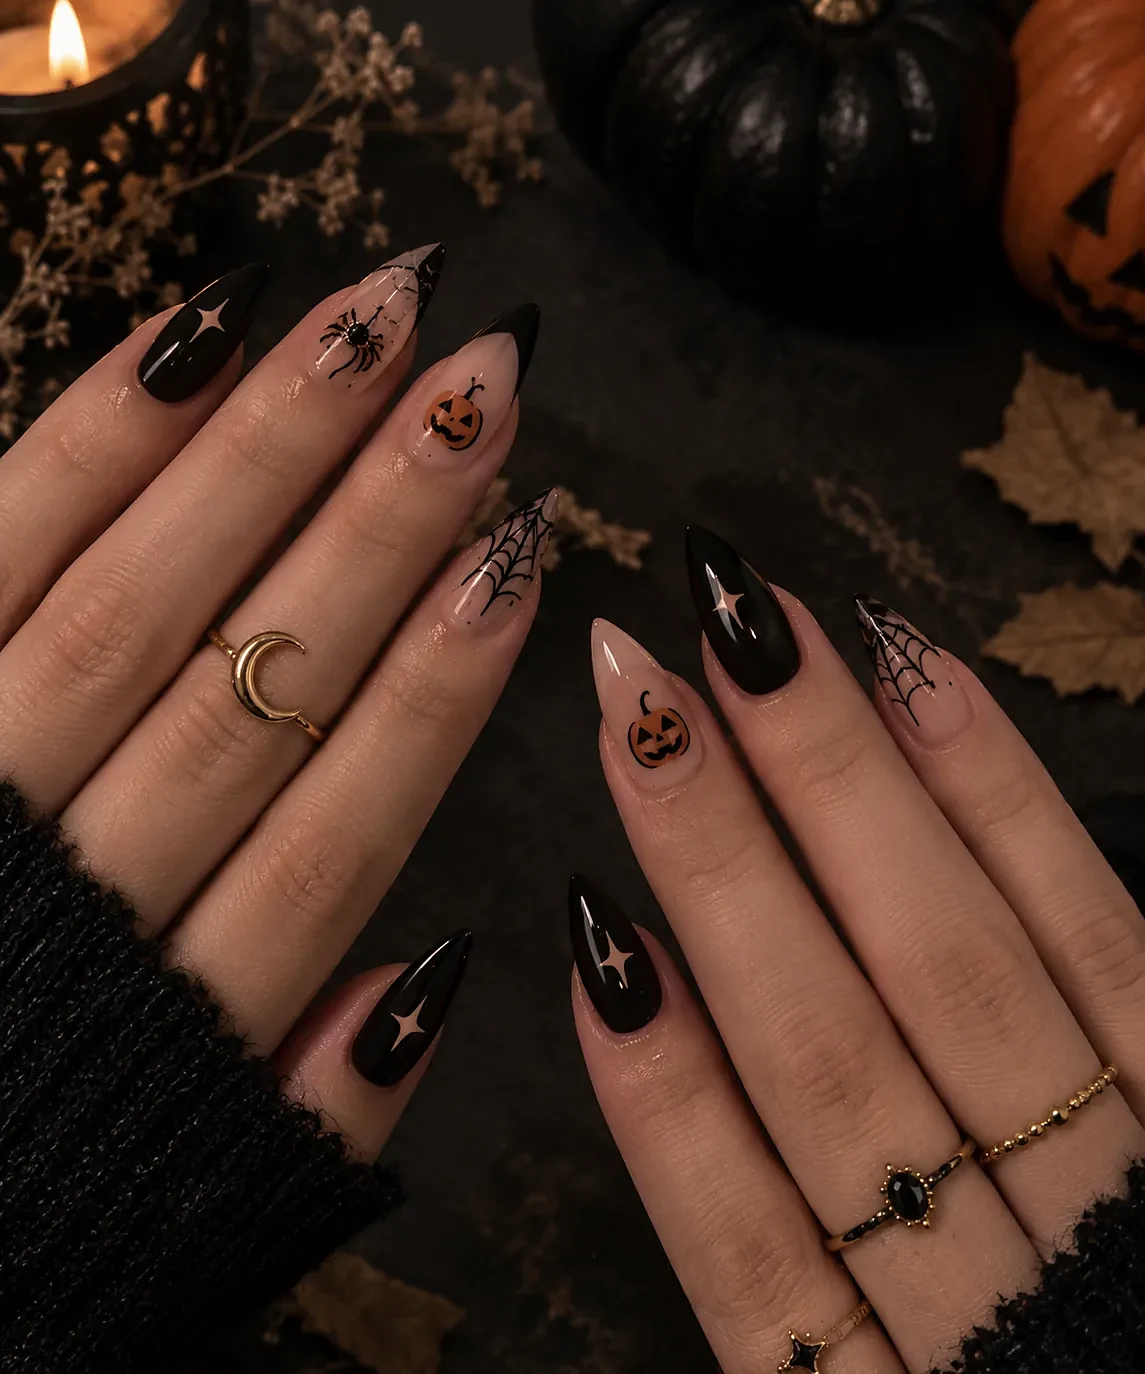
Rich burgundy polish, nearly black in dim light, with one delicate spiderweb on an accent nail. It's vampire-elegant. The color alone does half the work, and the web is just the finishing touch.
You'll need:
- Burgundy polish
- Black striper polish
- Thin brush
- Top coat
How to: Paint all nails burgundy. On one accent nail, draw a fine web with the striper brush. The dark-on-dark look is subtle and elegant.
18. Glow-in-the-Dark
Charge them under light, then watch your nails glow green in a dark room. Layer glow polish over any design on this list for a hidden second look. The party trick nobody expects from a manicure.
You'll need:
- Glow polish
- Base coat
- Top coat
- Any nail art polish
How to: Apply glow polish over your base or over any design on this list. Charge the nails under a lamp for a minute, then watch them glow green in a dark room.
Screenshot your favorite, show your nail tech, or grab a polish set and try it at home. Either way, your hands are officially ready for spooky season.
Want more spooky season ideas? Check out our boo basket gift guide for a nail-polish treat to gift a friend, or browse the viral costumes everyone is wearing to match your nails to your outfit.